
Guide to the 3 Day Villarrica Traverse
I used every last bit of energy to move my legs slowly in the direction of the mountain pass ahead. 8 hours into our first day of hiking the Villarrica Traverse, my body was at the brink of exhaustion. 22 kilometers with a 15 + kg backpack really took its toll as we climbed up and down the faces of the volcanoes in the Villarrica National Park.
As we neared the highest point of the trek, the sun was falling behind the Villarrica Volcano, casting a fiery display of colors across the clouds and landscape around us. The sunset brought a new wave of energy through my body, and despite the physical discomfort I had endured, I could not think of any other place I’d rather be. I stood in complete isolation and felt euphoric.

The Sky is on Fire
The Villarrica Traverse on Your Own
To this day, the Villarrica Traverse in Pucón, Chile is my favorite trek. It was the first multi-day trek I completed and one of the most beautiful natural landscapes I have seen. Imagine snowy peaked volcanoes, crystal clear lakes, fire colored forests, and otherworldly terrain.
The Villarrica Traverse is an off the beaten path adventure in the Villarrica National Park. There are very few people on the trail, no tours and not a ton of information on the trek. Continue reading for all the information you need about making the 3 day trek.

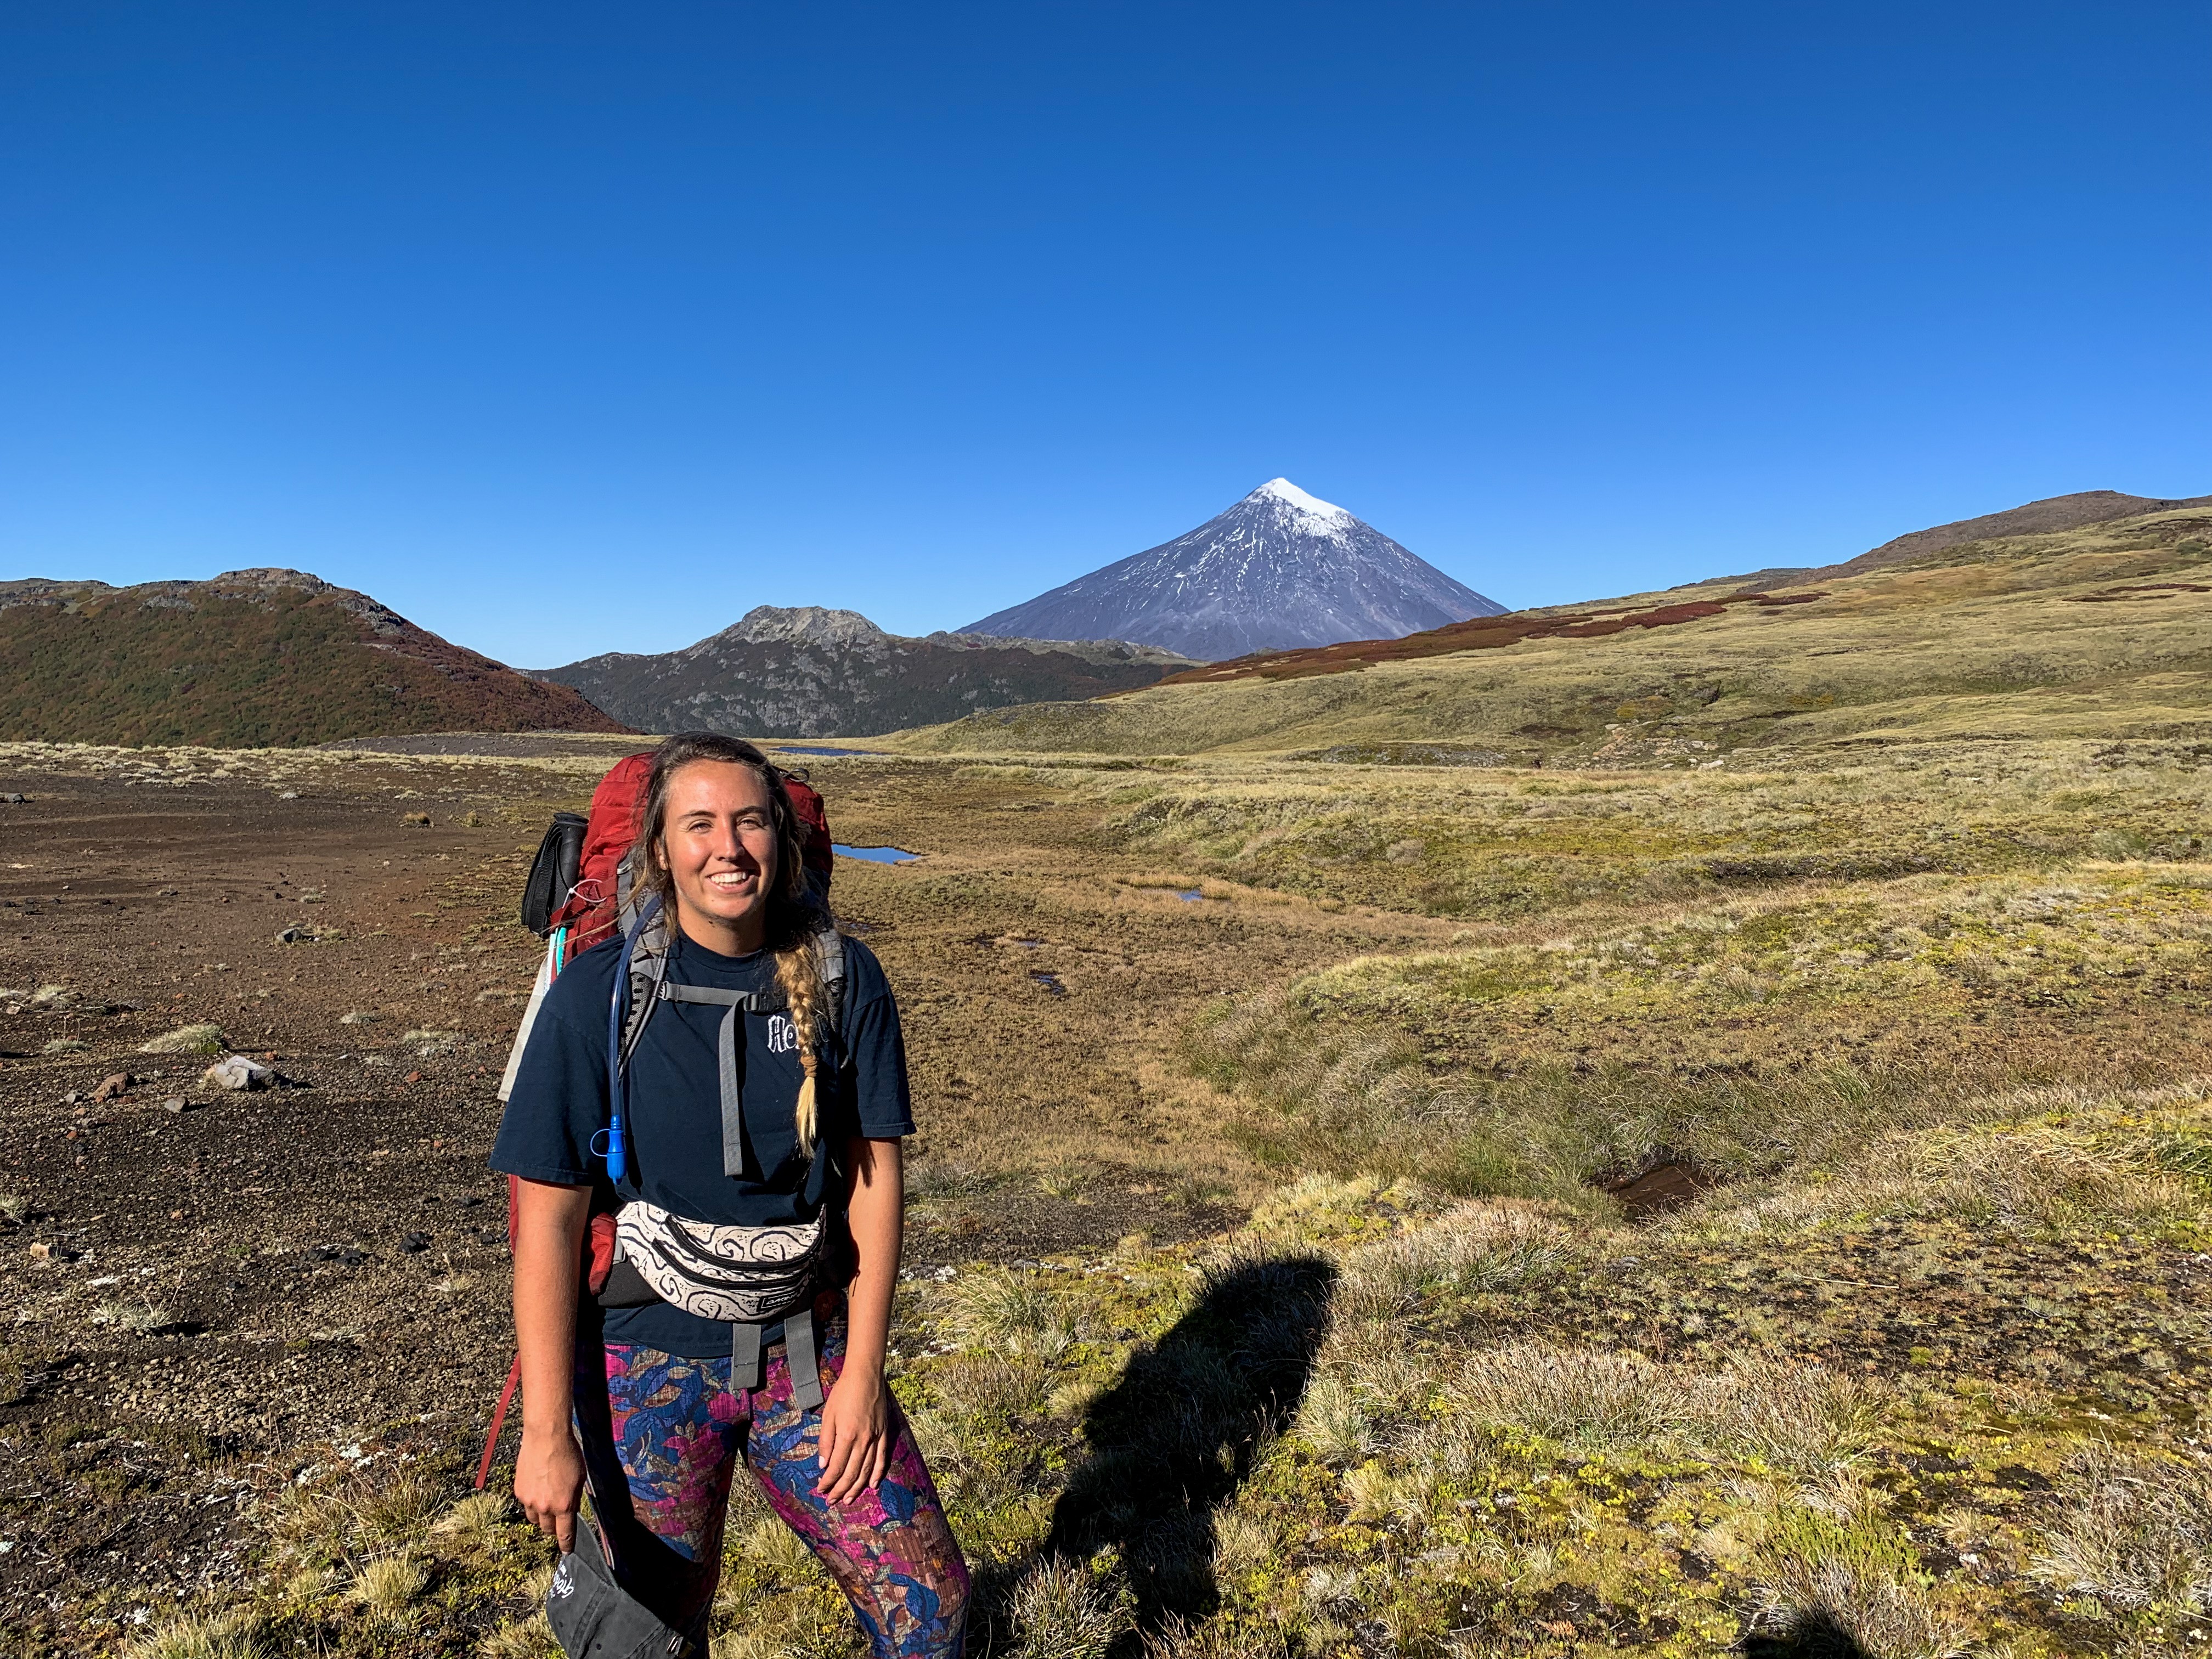
Villarrica Volcano in the distance
The Route:
**Download Maps.me for the trail and camping sites**
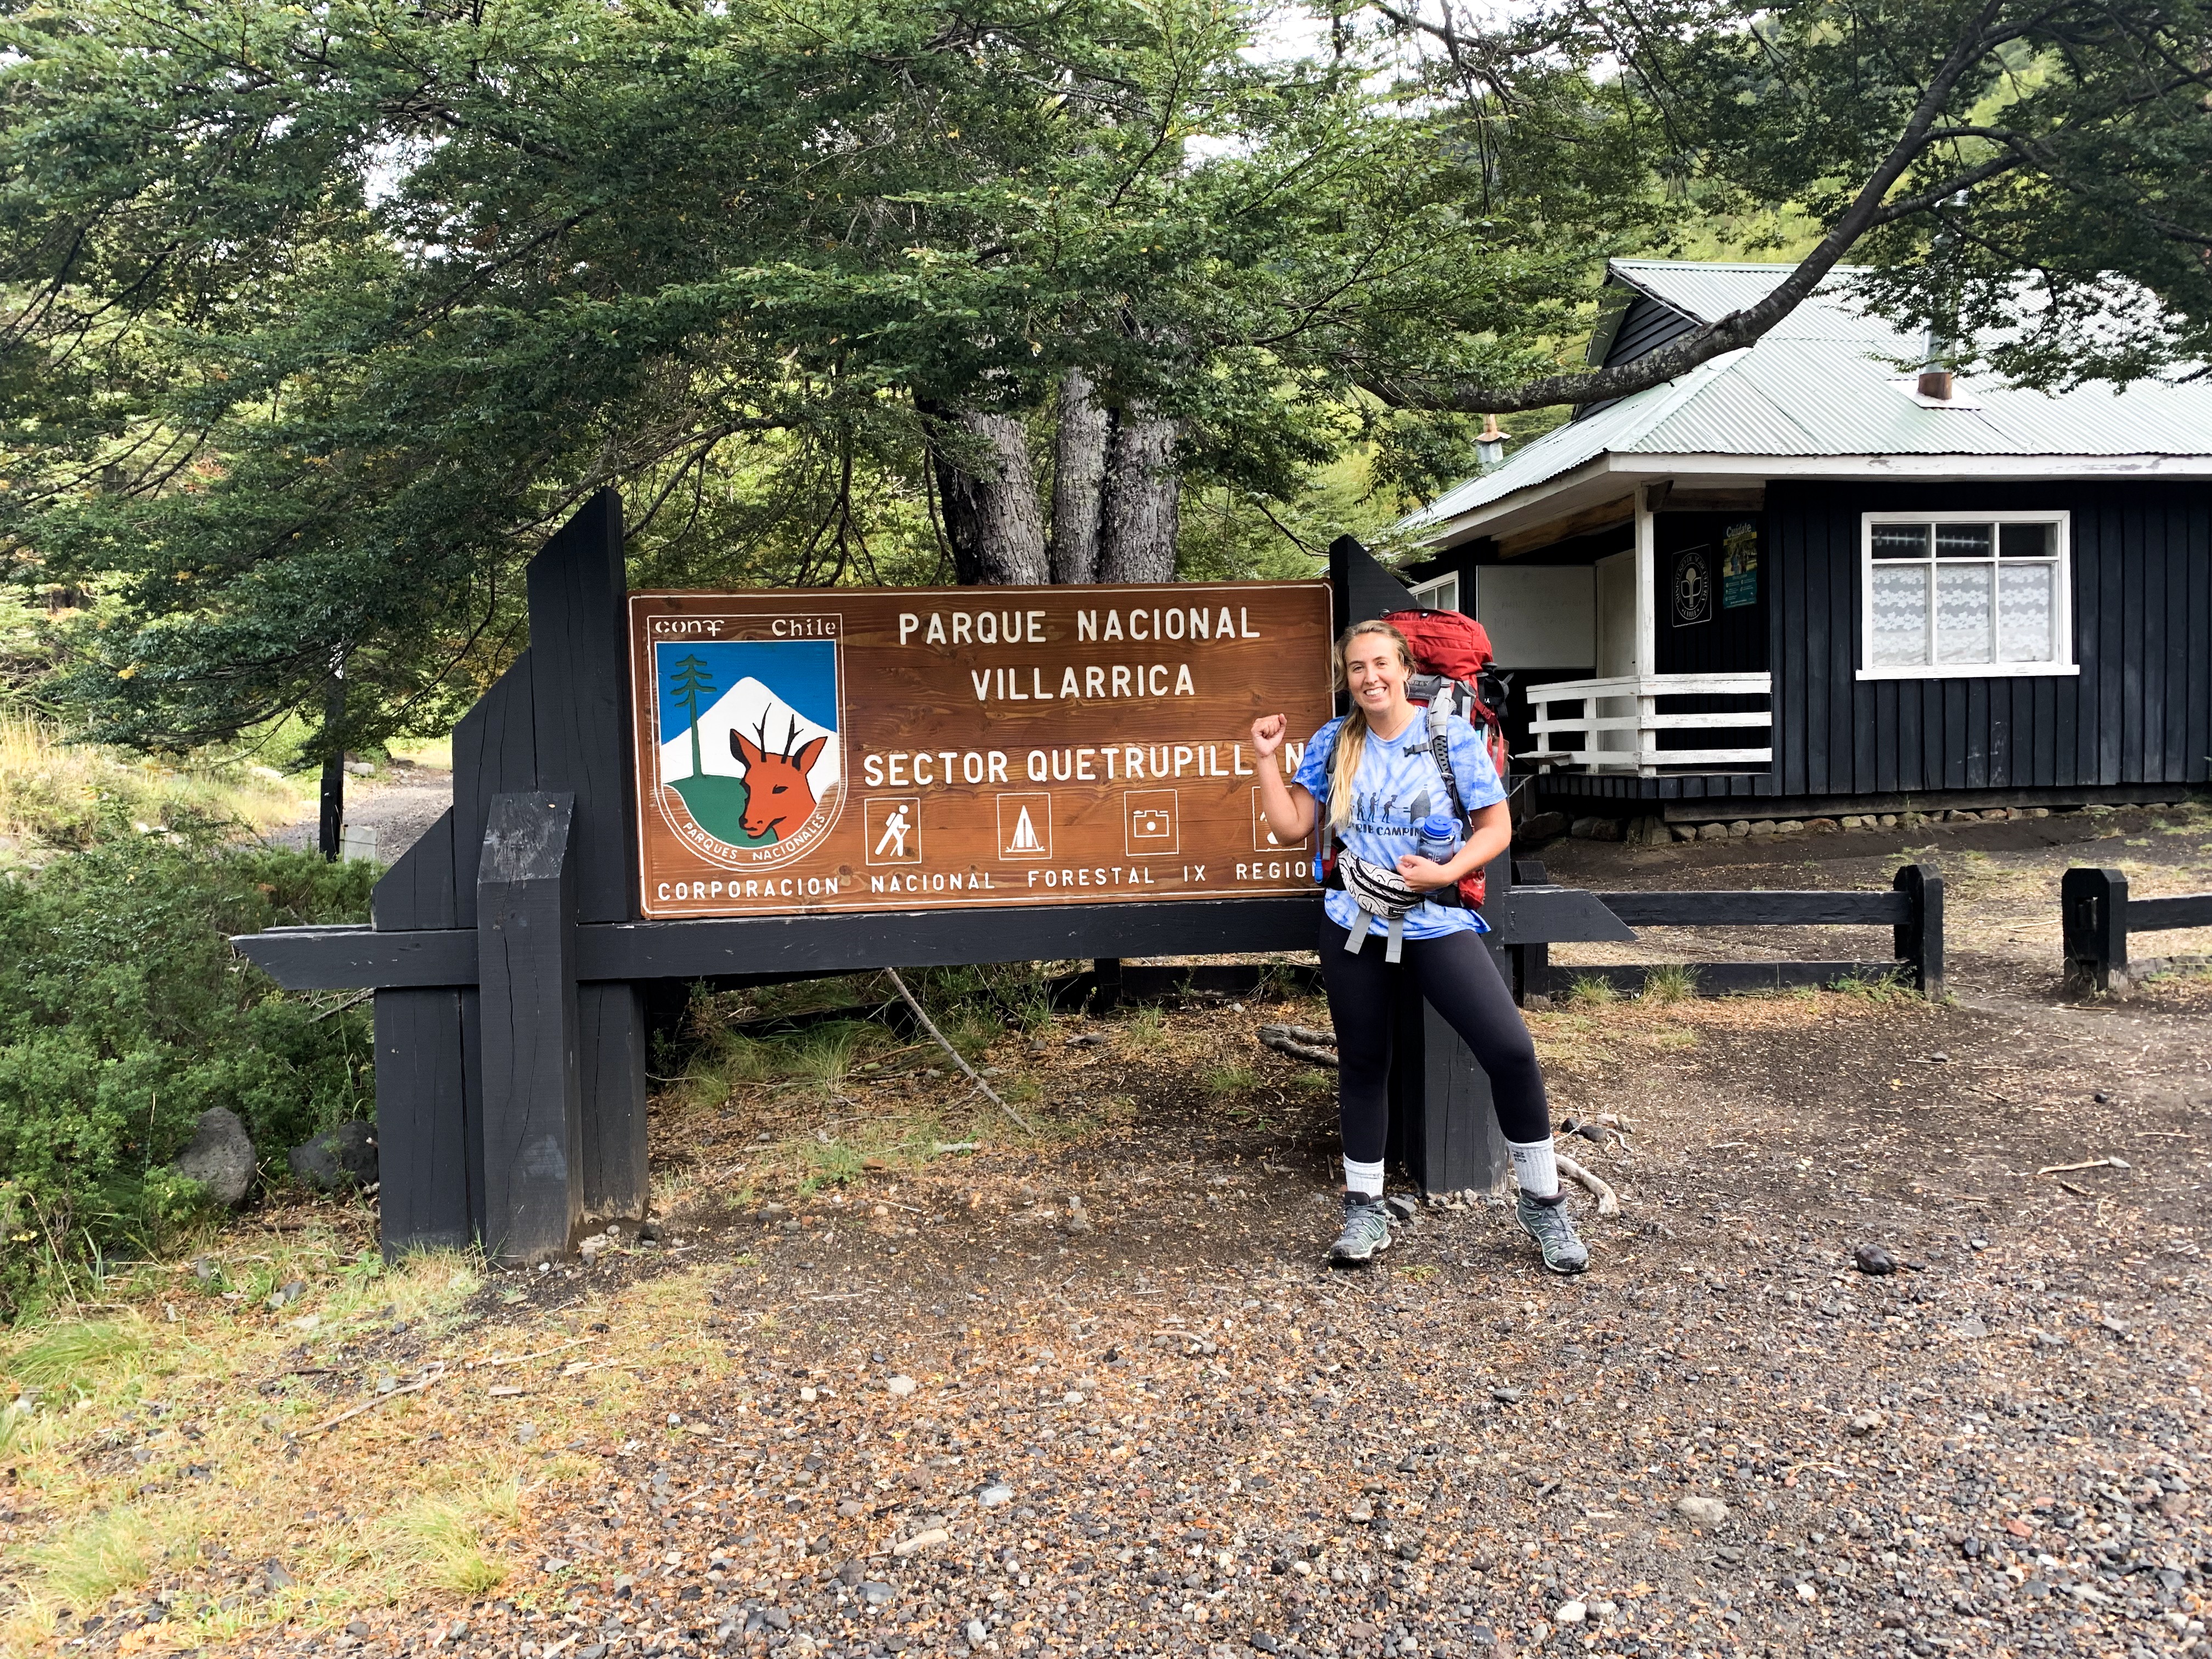
Begin: CONAF check point Quetrupillán Sector
Day 1: CONAF to Laguna Azul (De Los Patos) (22 km)
Day 2: Laguna Azul to Volcano View Camping
Day 3: Volcano View Camping to Puesco
Key Advice for the Villarrica Traverse:
- Bring a water filter and fill up when you can
- Use Maps.me for navigation
- If Hitchhiking, bring food for an extra day
- Prepare for weather and make sure your gear works
- Have cash for the entrance fee
- Leave no trace (carry all your trash out!)

Where is the Villarrica Traverse:
The whole trek takes place in the Villarrica National Park. This park is located in close proximity to Pucón, Chile. Pucón is the home base for many of the adventurous activities in this region. It is a cute, little town on the banks of Villarrica Lake and has a lot of restaurants, hotels and shops. Pucón is located about 8 hours south of Santiago.
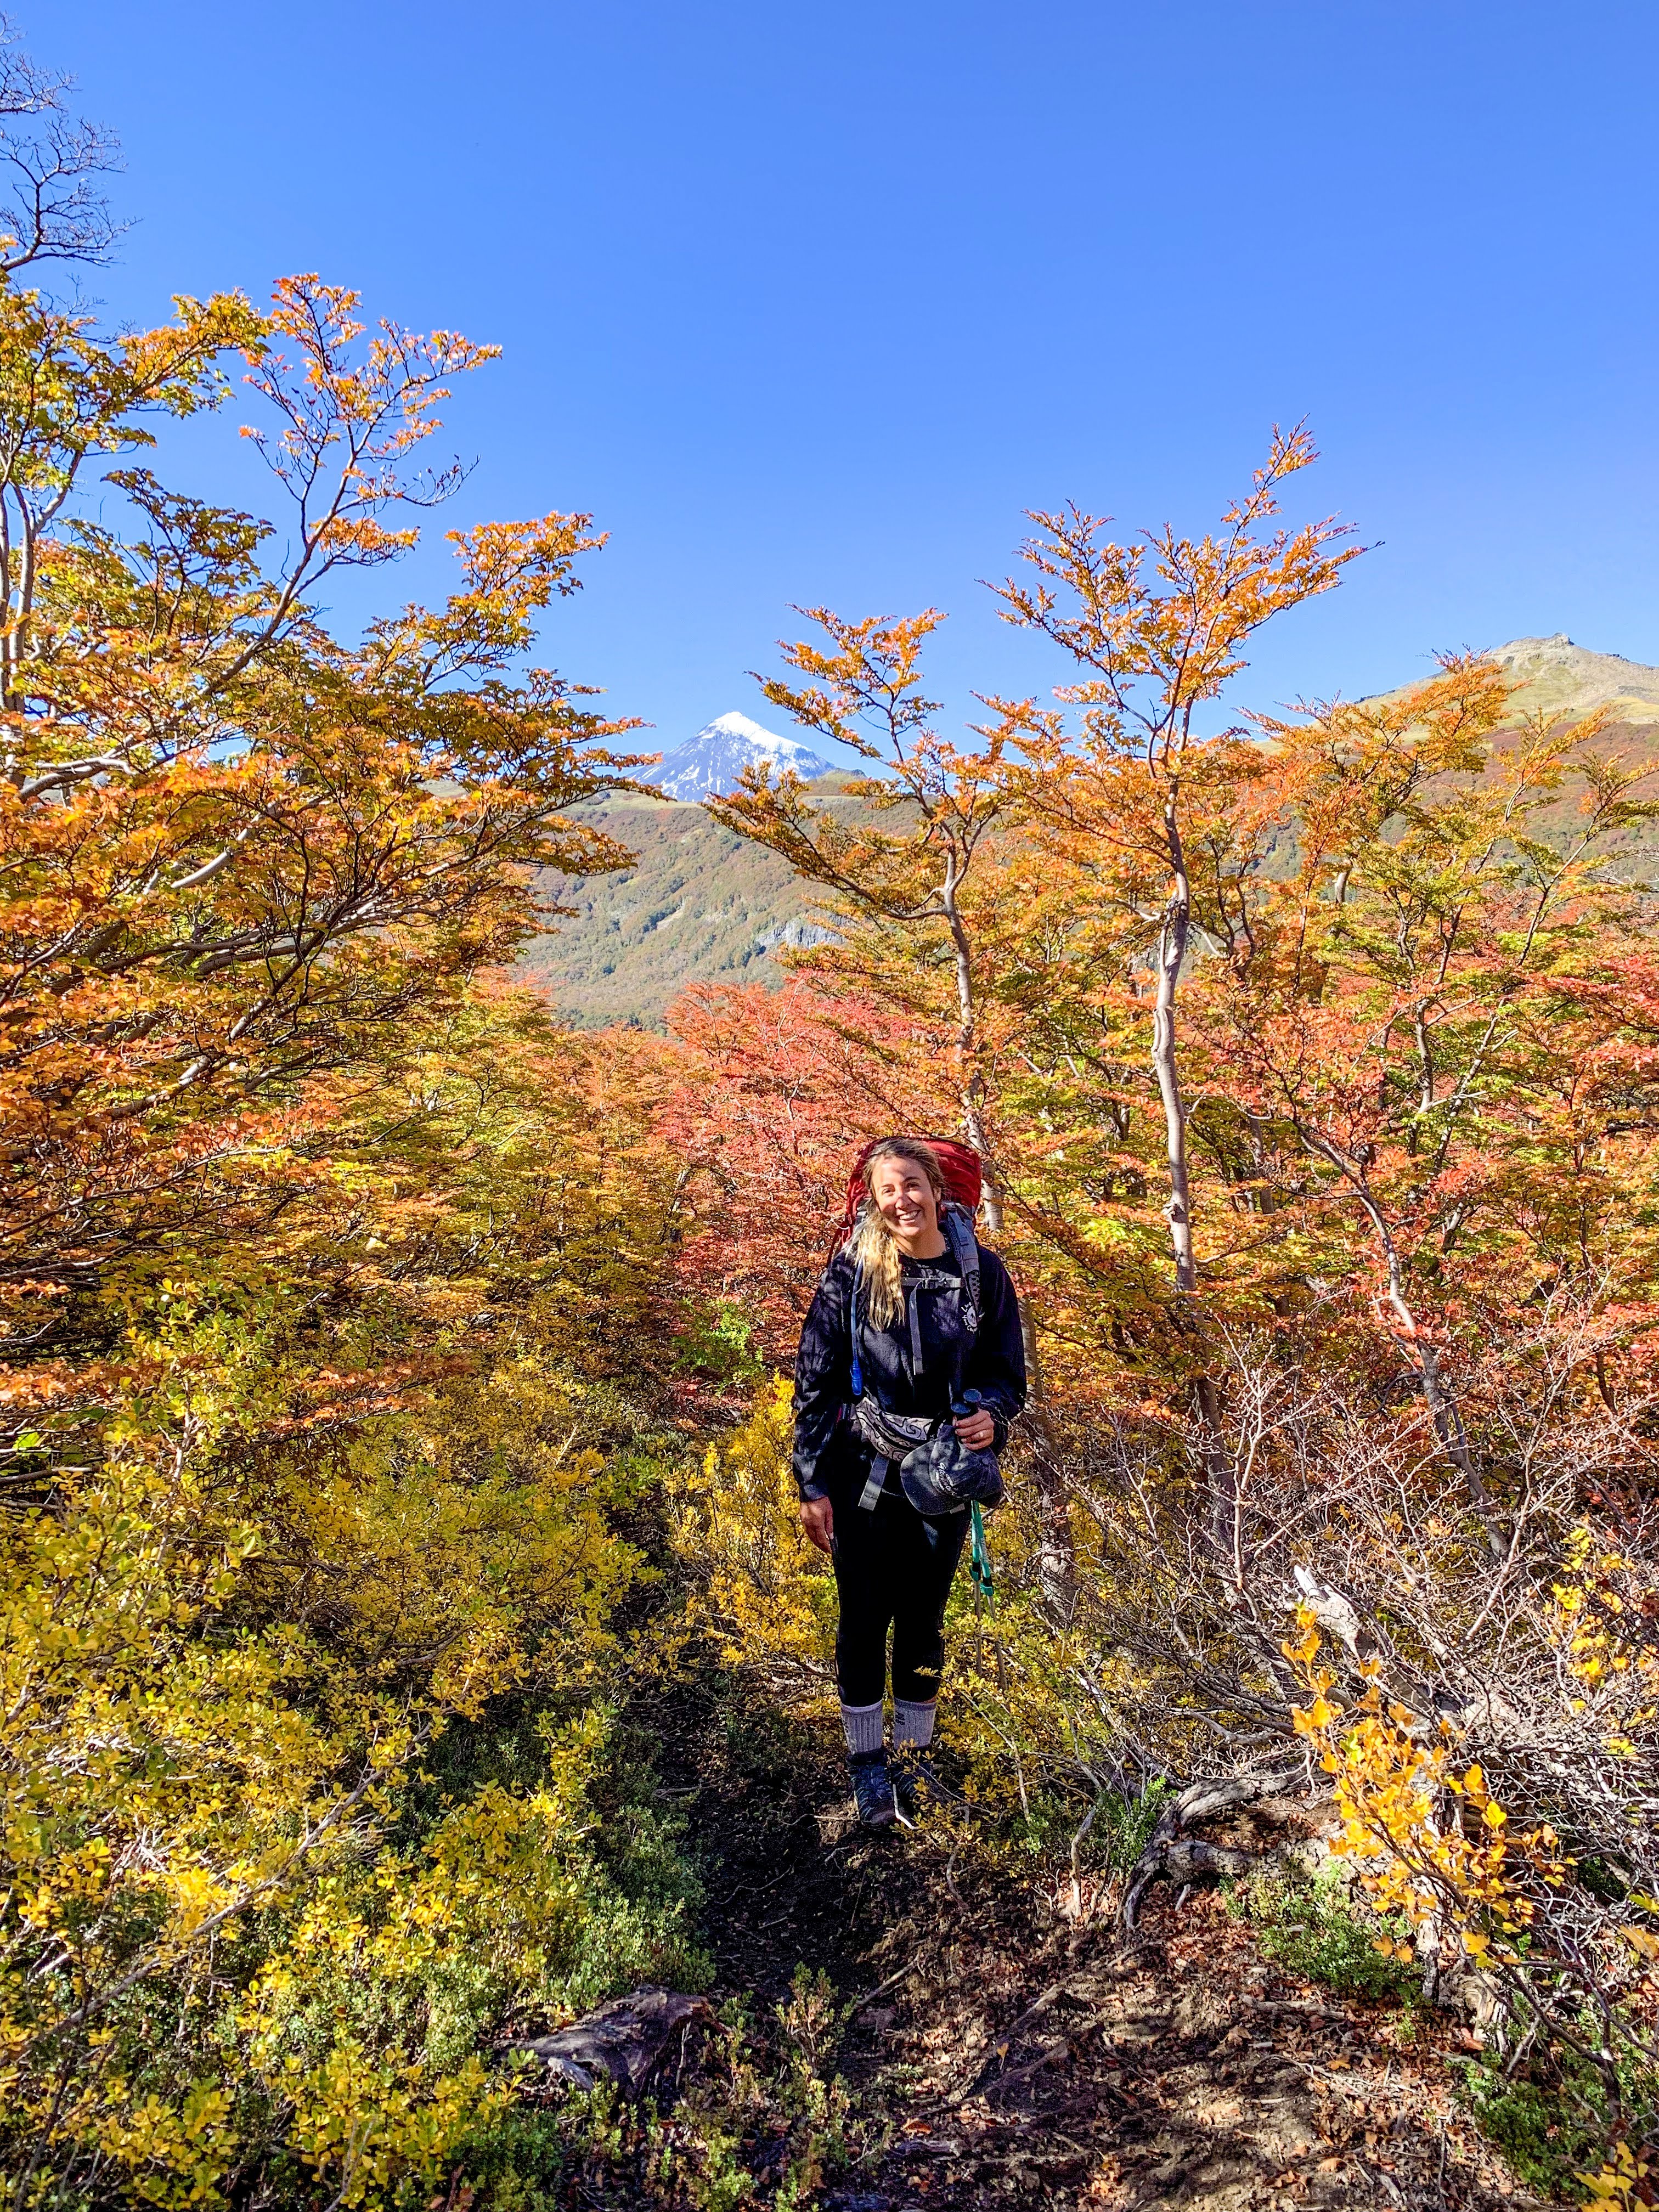
Fall Colors on the Villarrica Traverse
When to Trek the Villarrica Traverse:
Trekking is good from December – April. Depending on the yearly snowfall, you can usually begin trekking the Villarrica Traverse in December. Snowfall can make following the trail more difficult unless you are experienced in snow trekking. I completed the trek in middle of April. This was an incredible time to trek because the leaves were all changing into their fall colors. I am not used to seeing the seasons change so this was a really incredible experience for me.
The months of January and February will have the longest hours of daylight, warmest temperatures, and consistently sunny days, but the trail may be a bit more crowded.

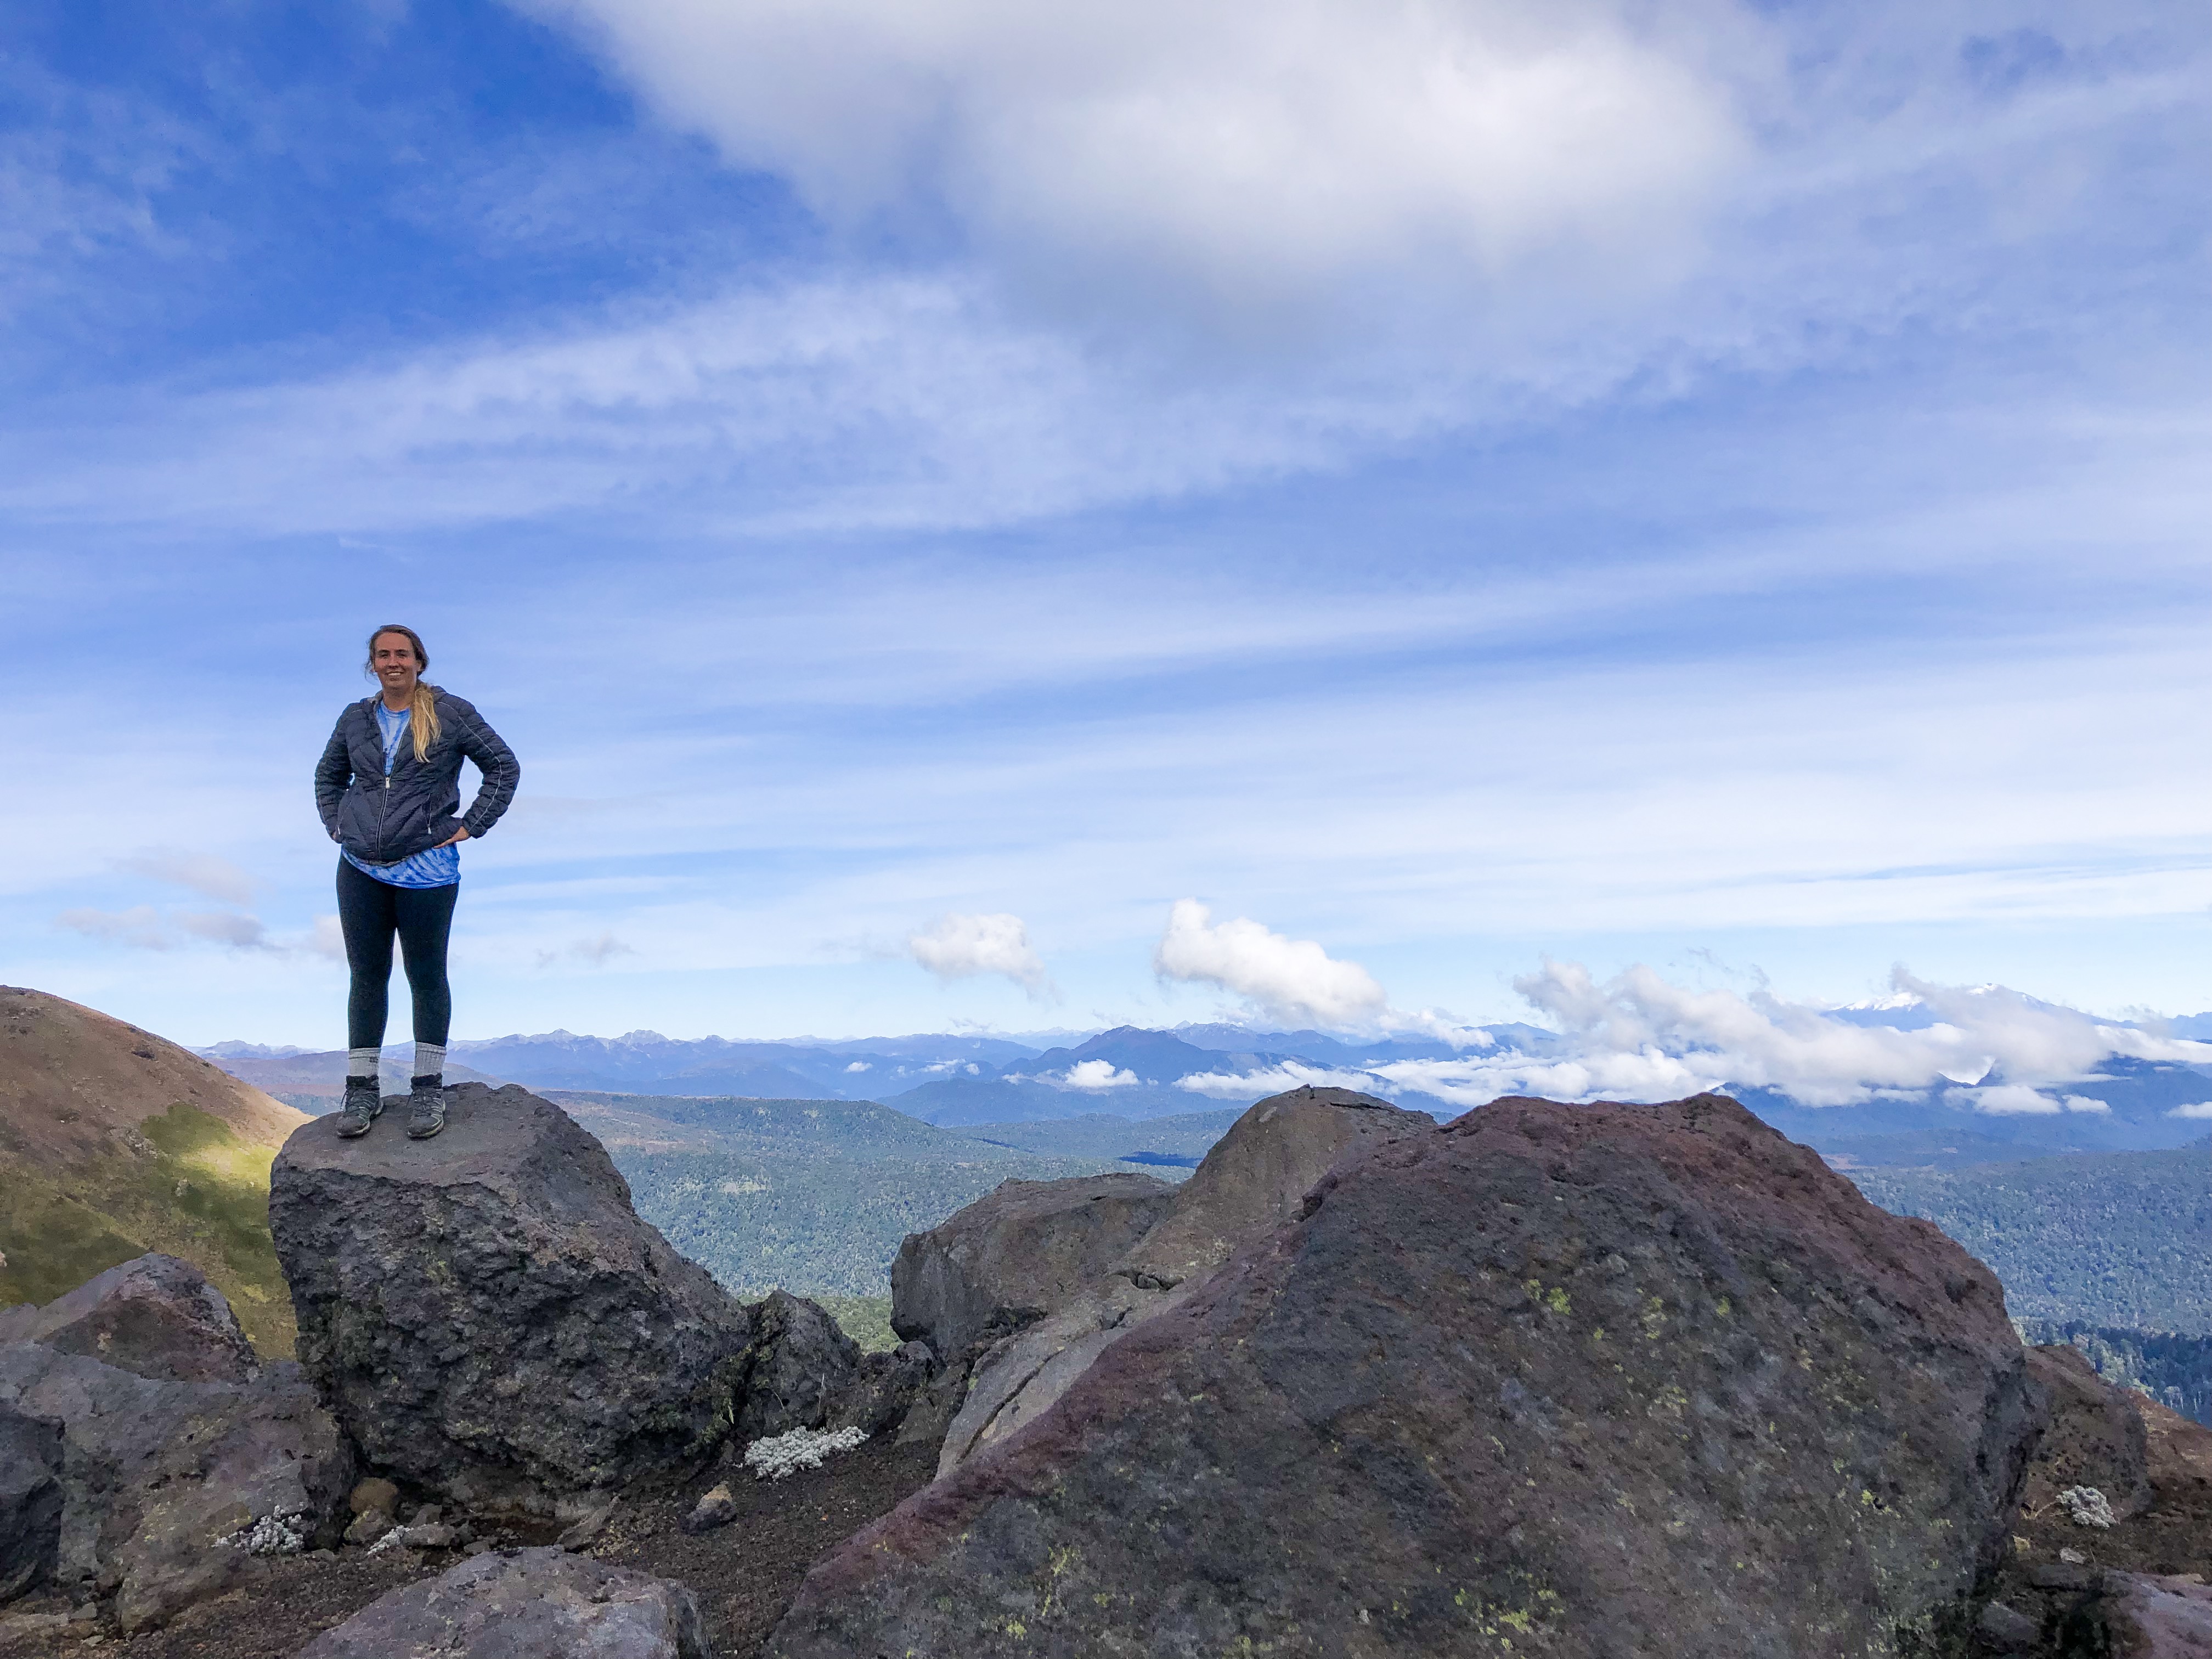
Highest point on the trek!
3 day versus 5 day Villarrica Traverse
Technically, the Villarrica Traverse is a 5 day trek, however most people choose to do the 3 day version. The 3 day version skips the part of trekking around the base of the Villarrica Volcano. From what I heard the terrain on this part is very exposed and not as beautiful as the rest of the hike. For me the 3 day version was great! The rest of my post will only discuss the 3 day route.
Cost:
- Entrance: 5,000 Chilean Pesos for Chileans and 7,000 Chilean Pesos for Foreigners
- Transportation: Free à 35,000 Chilean Pesos
- Food approx. 10,000 – 20,000 Chilean Pesos per person
- Campsites along the trek are FREE
Arriving to the start:
Getting to the CONAF Quetrupillán checkpoint is probably the hardest logistical aspect of this trek (if you are on a budget). There are a couple options I will list below:
- Hire transport: from one of the tour agencies in Pucón. This is the easiest way to get there but also the most expensive because it costs around 35,000 Chilean Pesos. However, they will know exactly where to take you and will be able to drop you off at whatever time you choose
- Uber: believe it or not, Uber does exist in Pucón but it is not always available. My friend and I were planning to hitch hike our way to the trail but out of curiosity I checked Uber before we left and ended up securing a driver for only 12,000 Chilean Pesos!
- Hitchhiking: the cheapest option but also the most time consuming and challenging. You must get a ride from Pucón to Palguin and then all the way up a really long dirt (S-941 & S-939) road that doesn’t have much traffic. Prepare for an extra night if you choose this option because it is likely you may not have enough time to trek to Laguna Azul on day 1.
Getting Back to Pucón:
After the trek, we were able to hitchhike our way back to Pucón without much trouble, but here are some of the other options.
- Hitch hiking: there is a convenient viewpoint parking lot right across the street from the exit of the Villarrica Traverse. We were able to catch a ride here in the direction of Pucón, and then hop on a public bus for the rest of the journey. Buses run regularly between Coñaripe and Pucón (1,000 Chilean Pesos)
- Walk and bus: some people choose to walk about 4 km to the town of Puesco and secure a ride there.
- Arrange transport: hire someone to be at the pick up spot at a certain time

What to expect of the Trek:
Without spoiling the trek I would like to detail some of the highlights and takeaways from each day!
Day 1 of Villarrica Traverse:
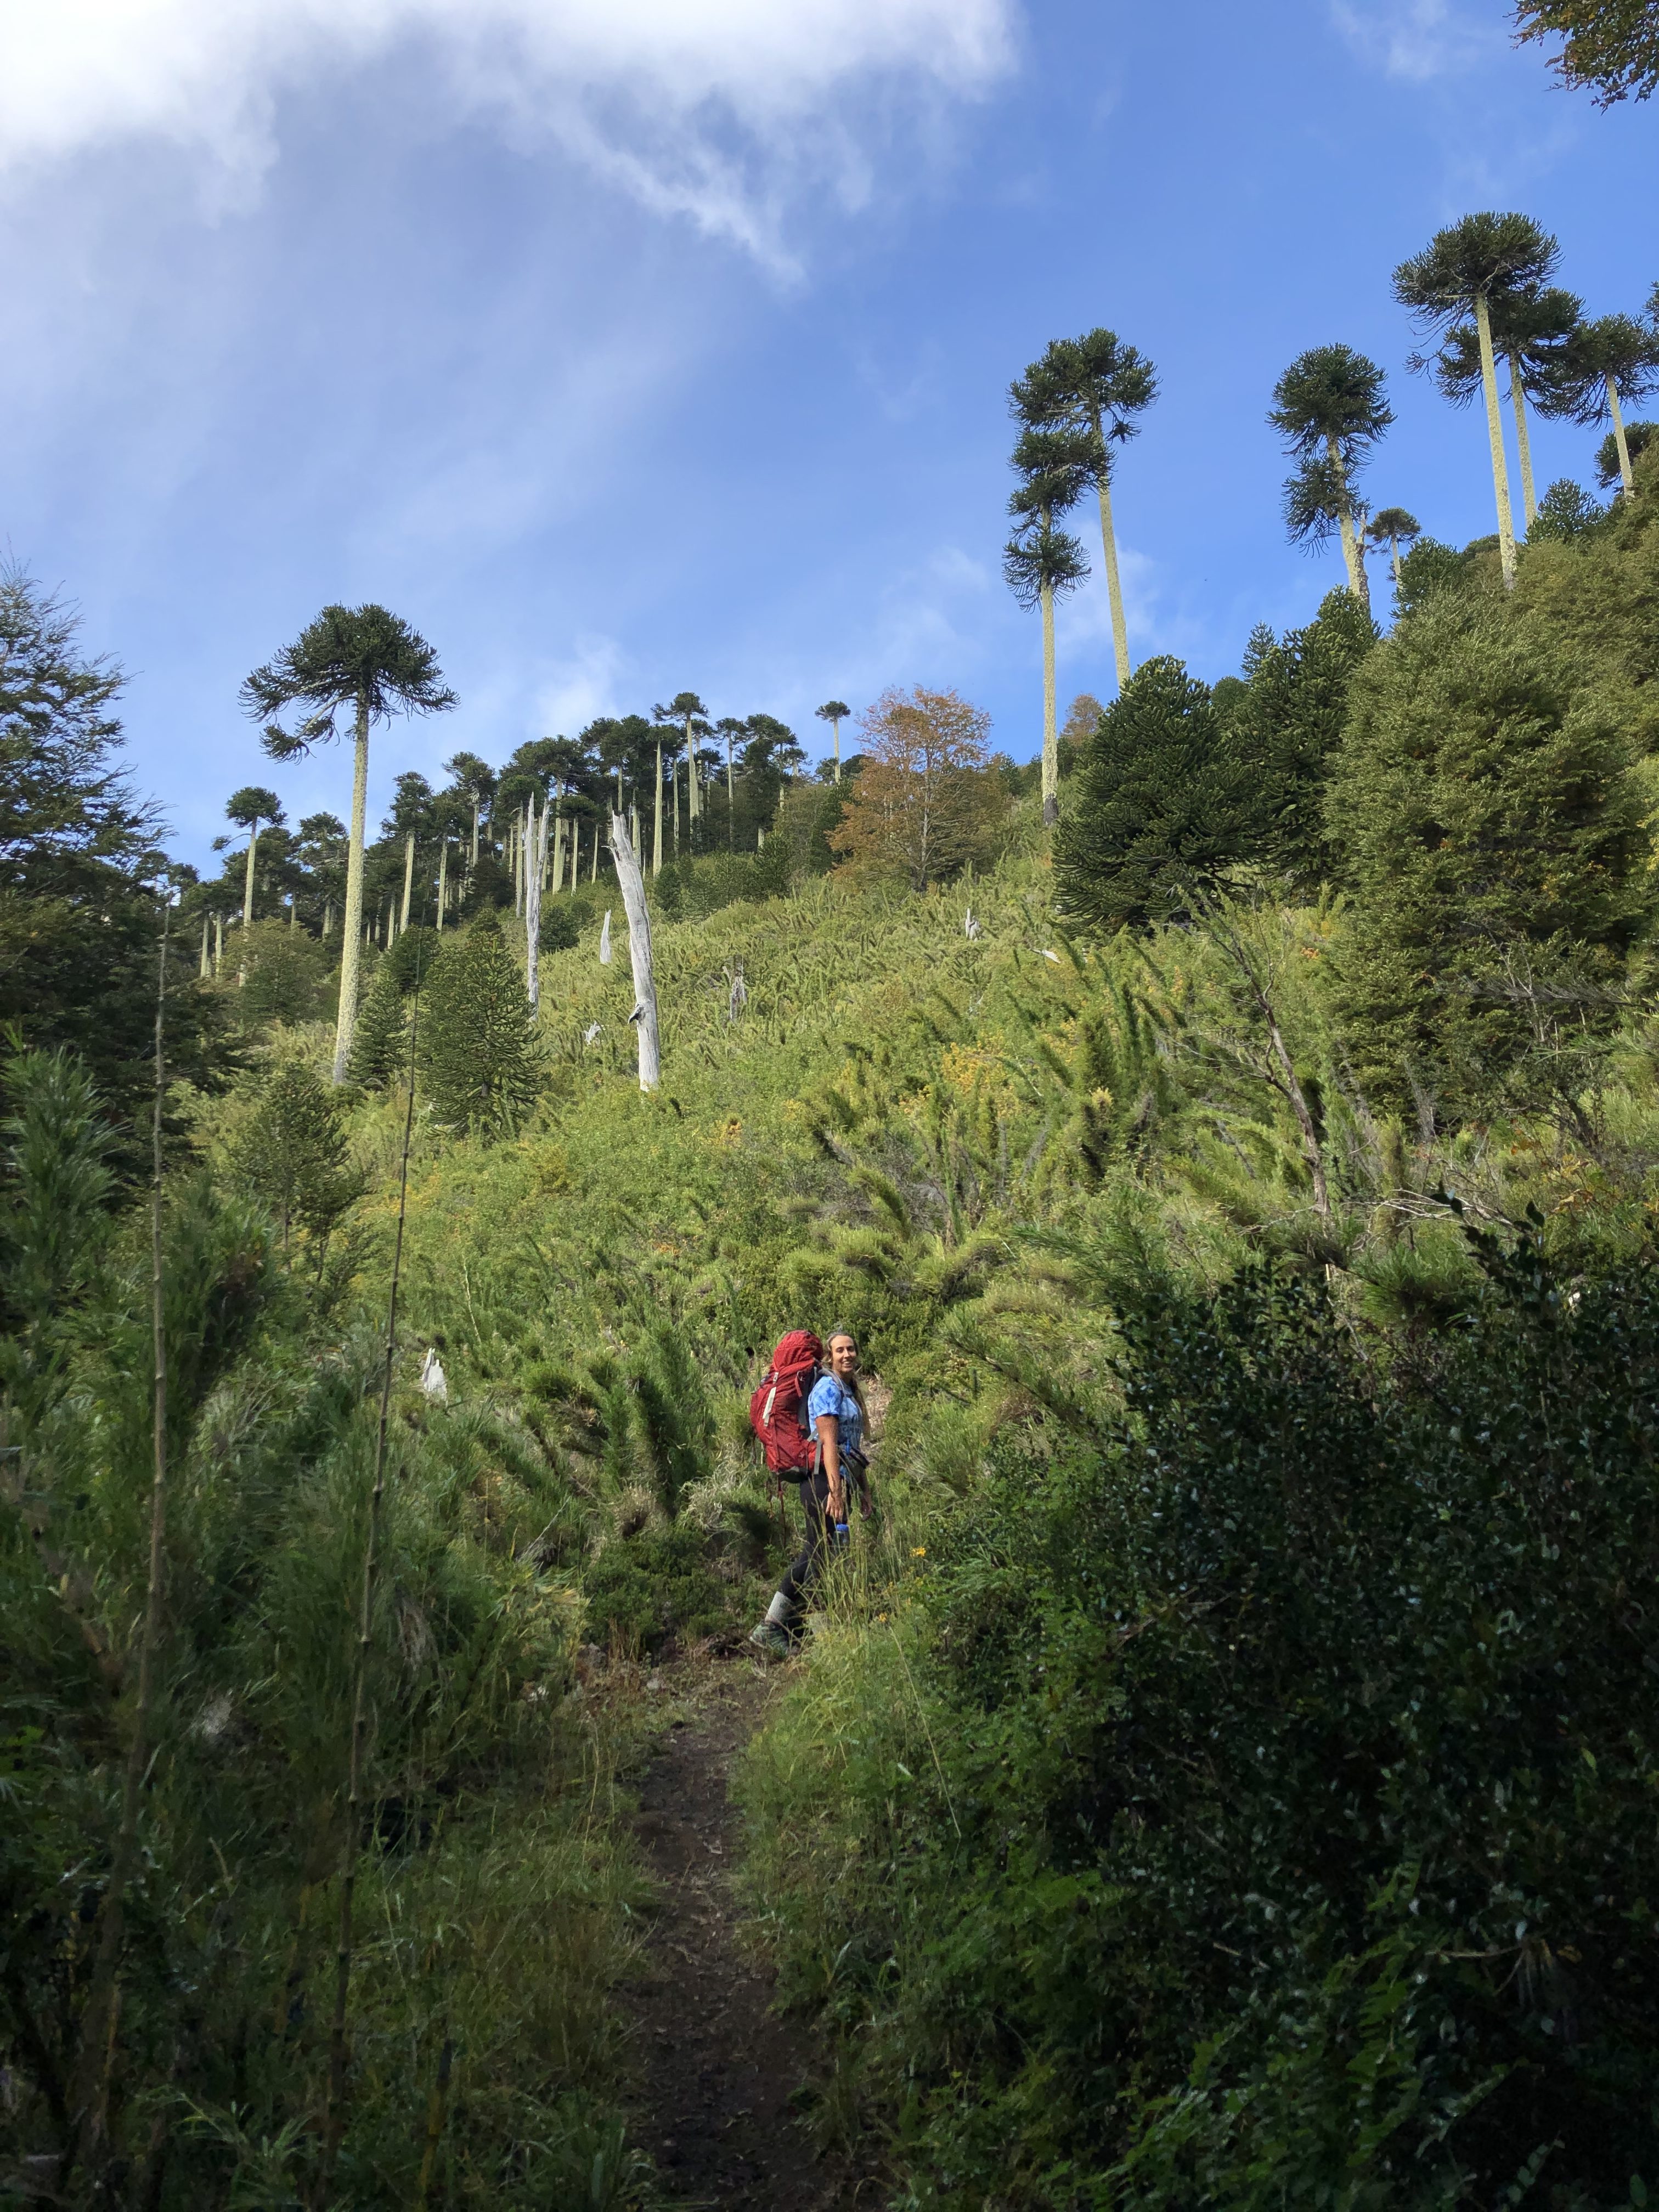
We arrived at the CONAF building for Quetrupillán around 10 AM and began our hike. Thankfully, we didn’t have the pay the fee because the guard shack was unattended (Chileans 5,000 Chilean Pesos, foreigners 7,000 Chilean Pesos). We knew this was going to be the biggest day distance and elevation wise. The beginning was a strenuous switch back climb up through the forest. There were multiple beautiful lookouts and we were getting a sneak peak at the fall color changes.
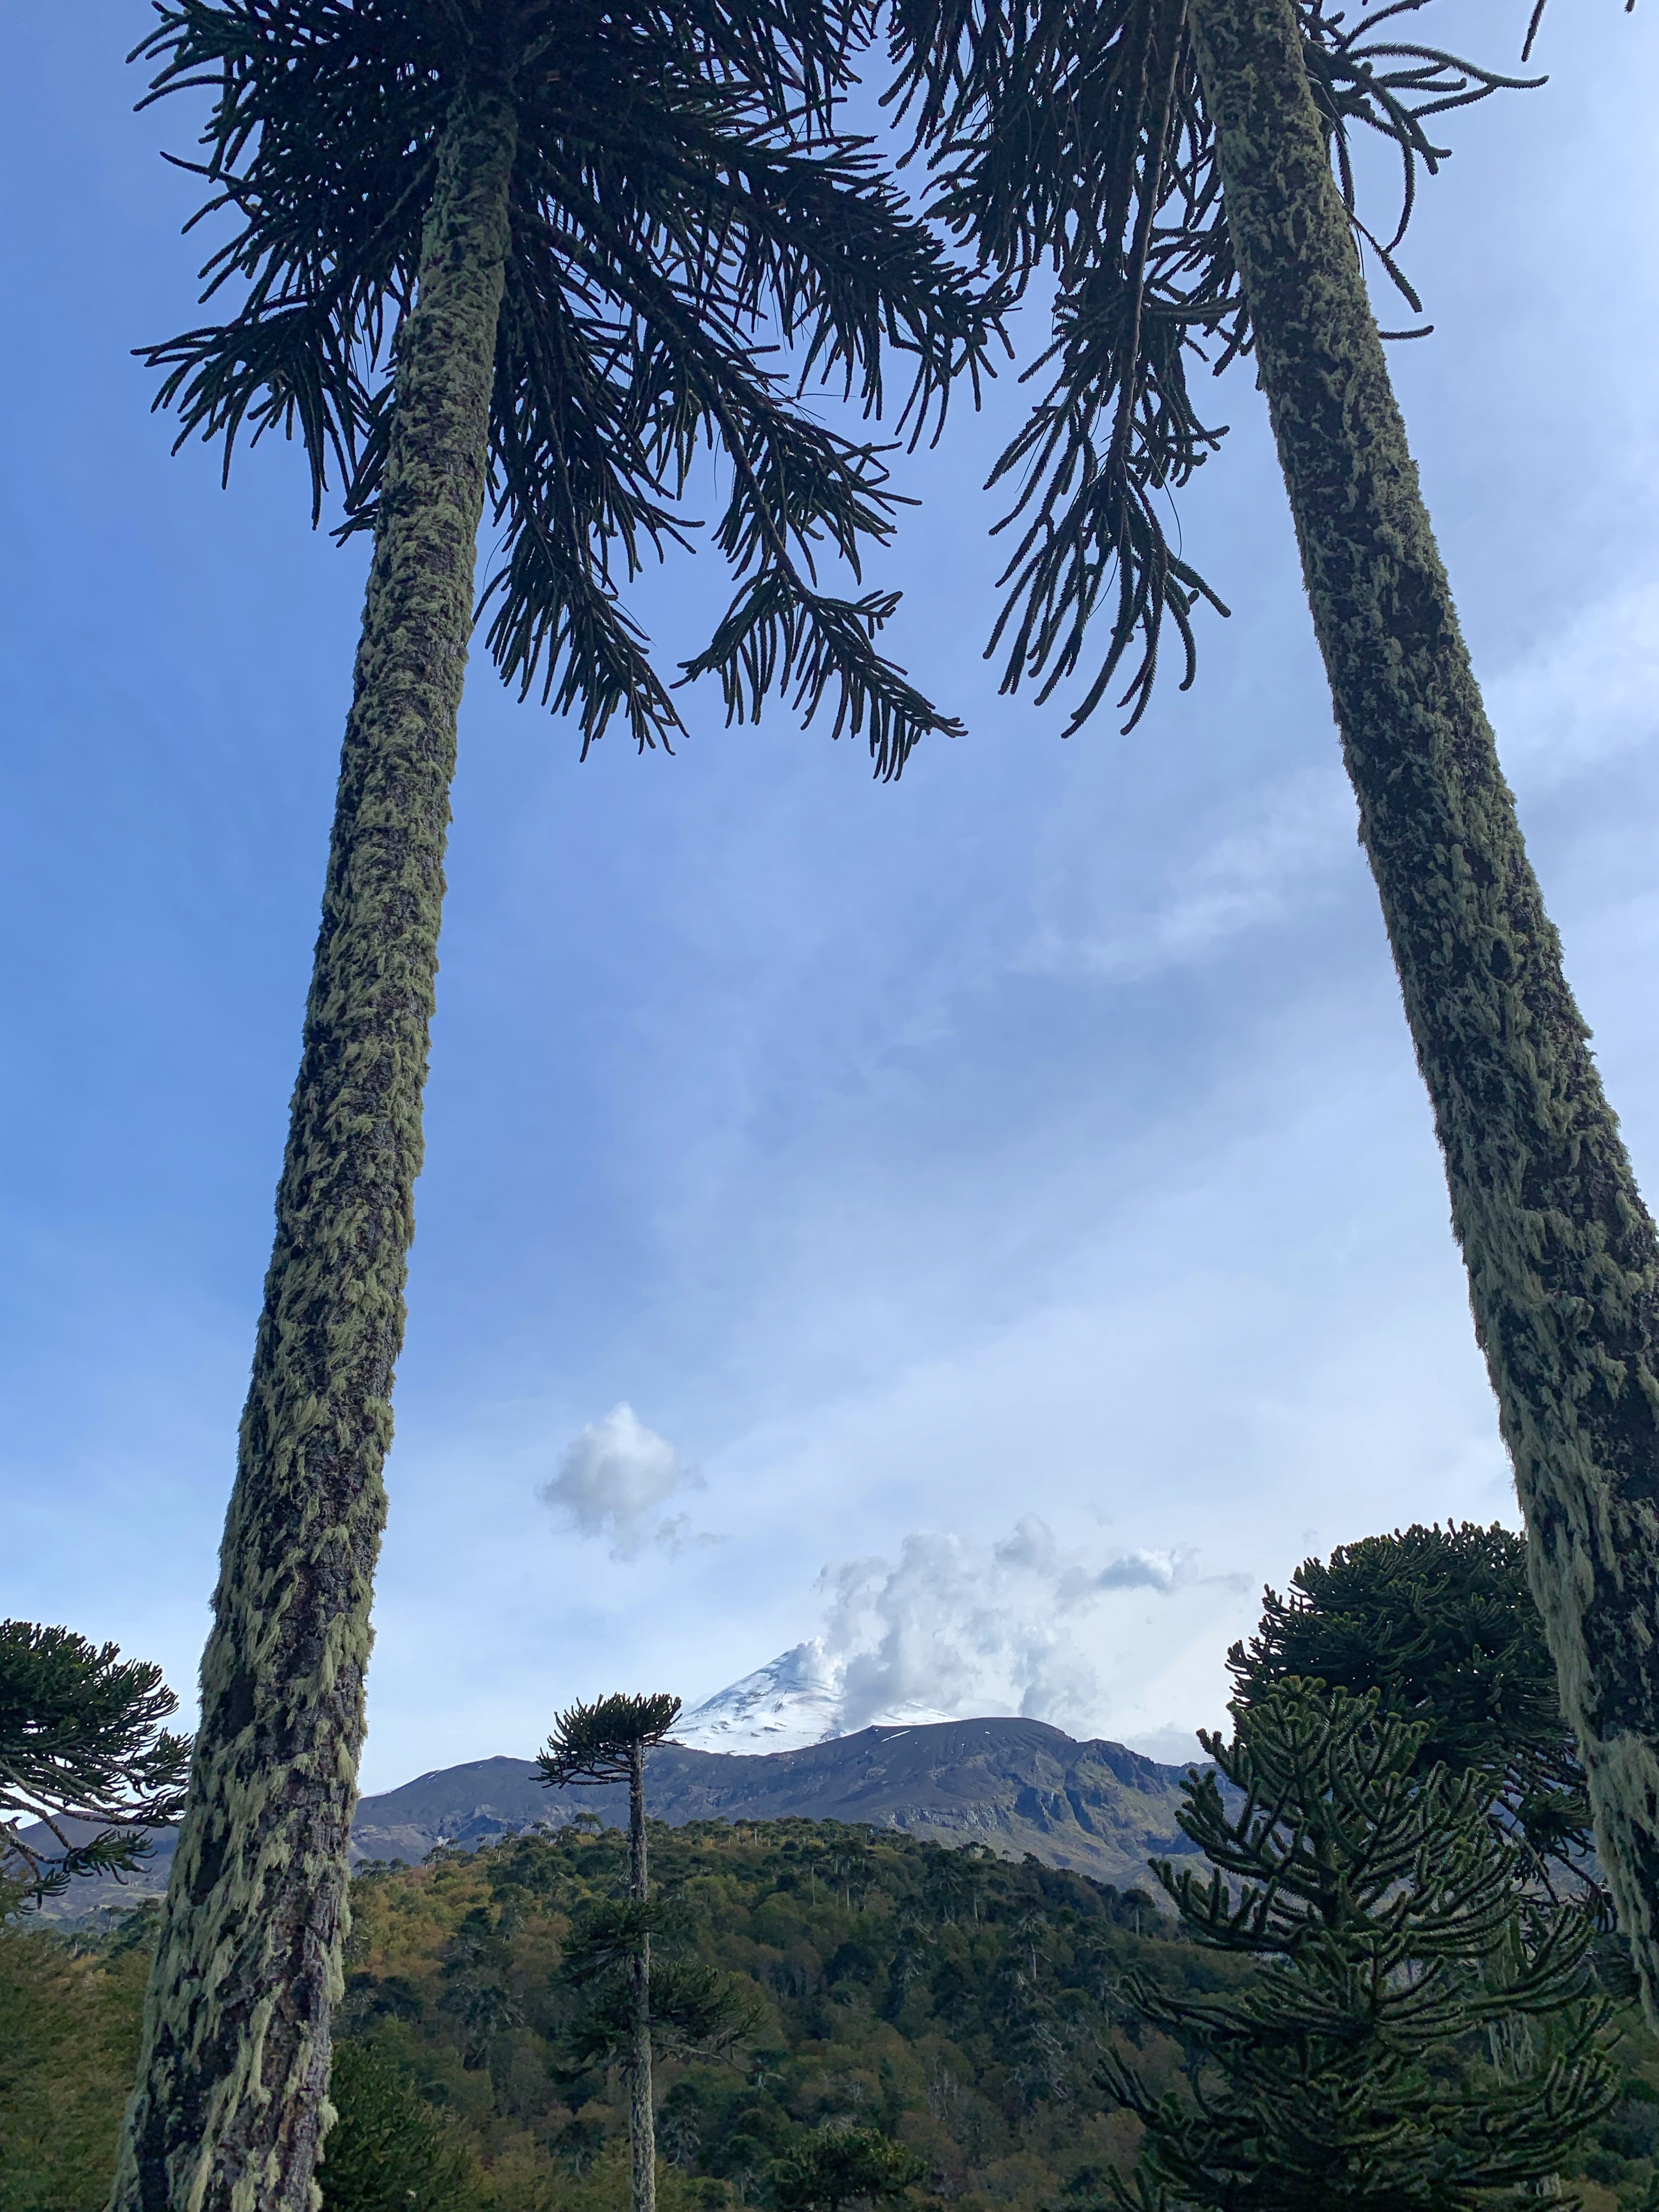
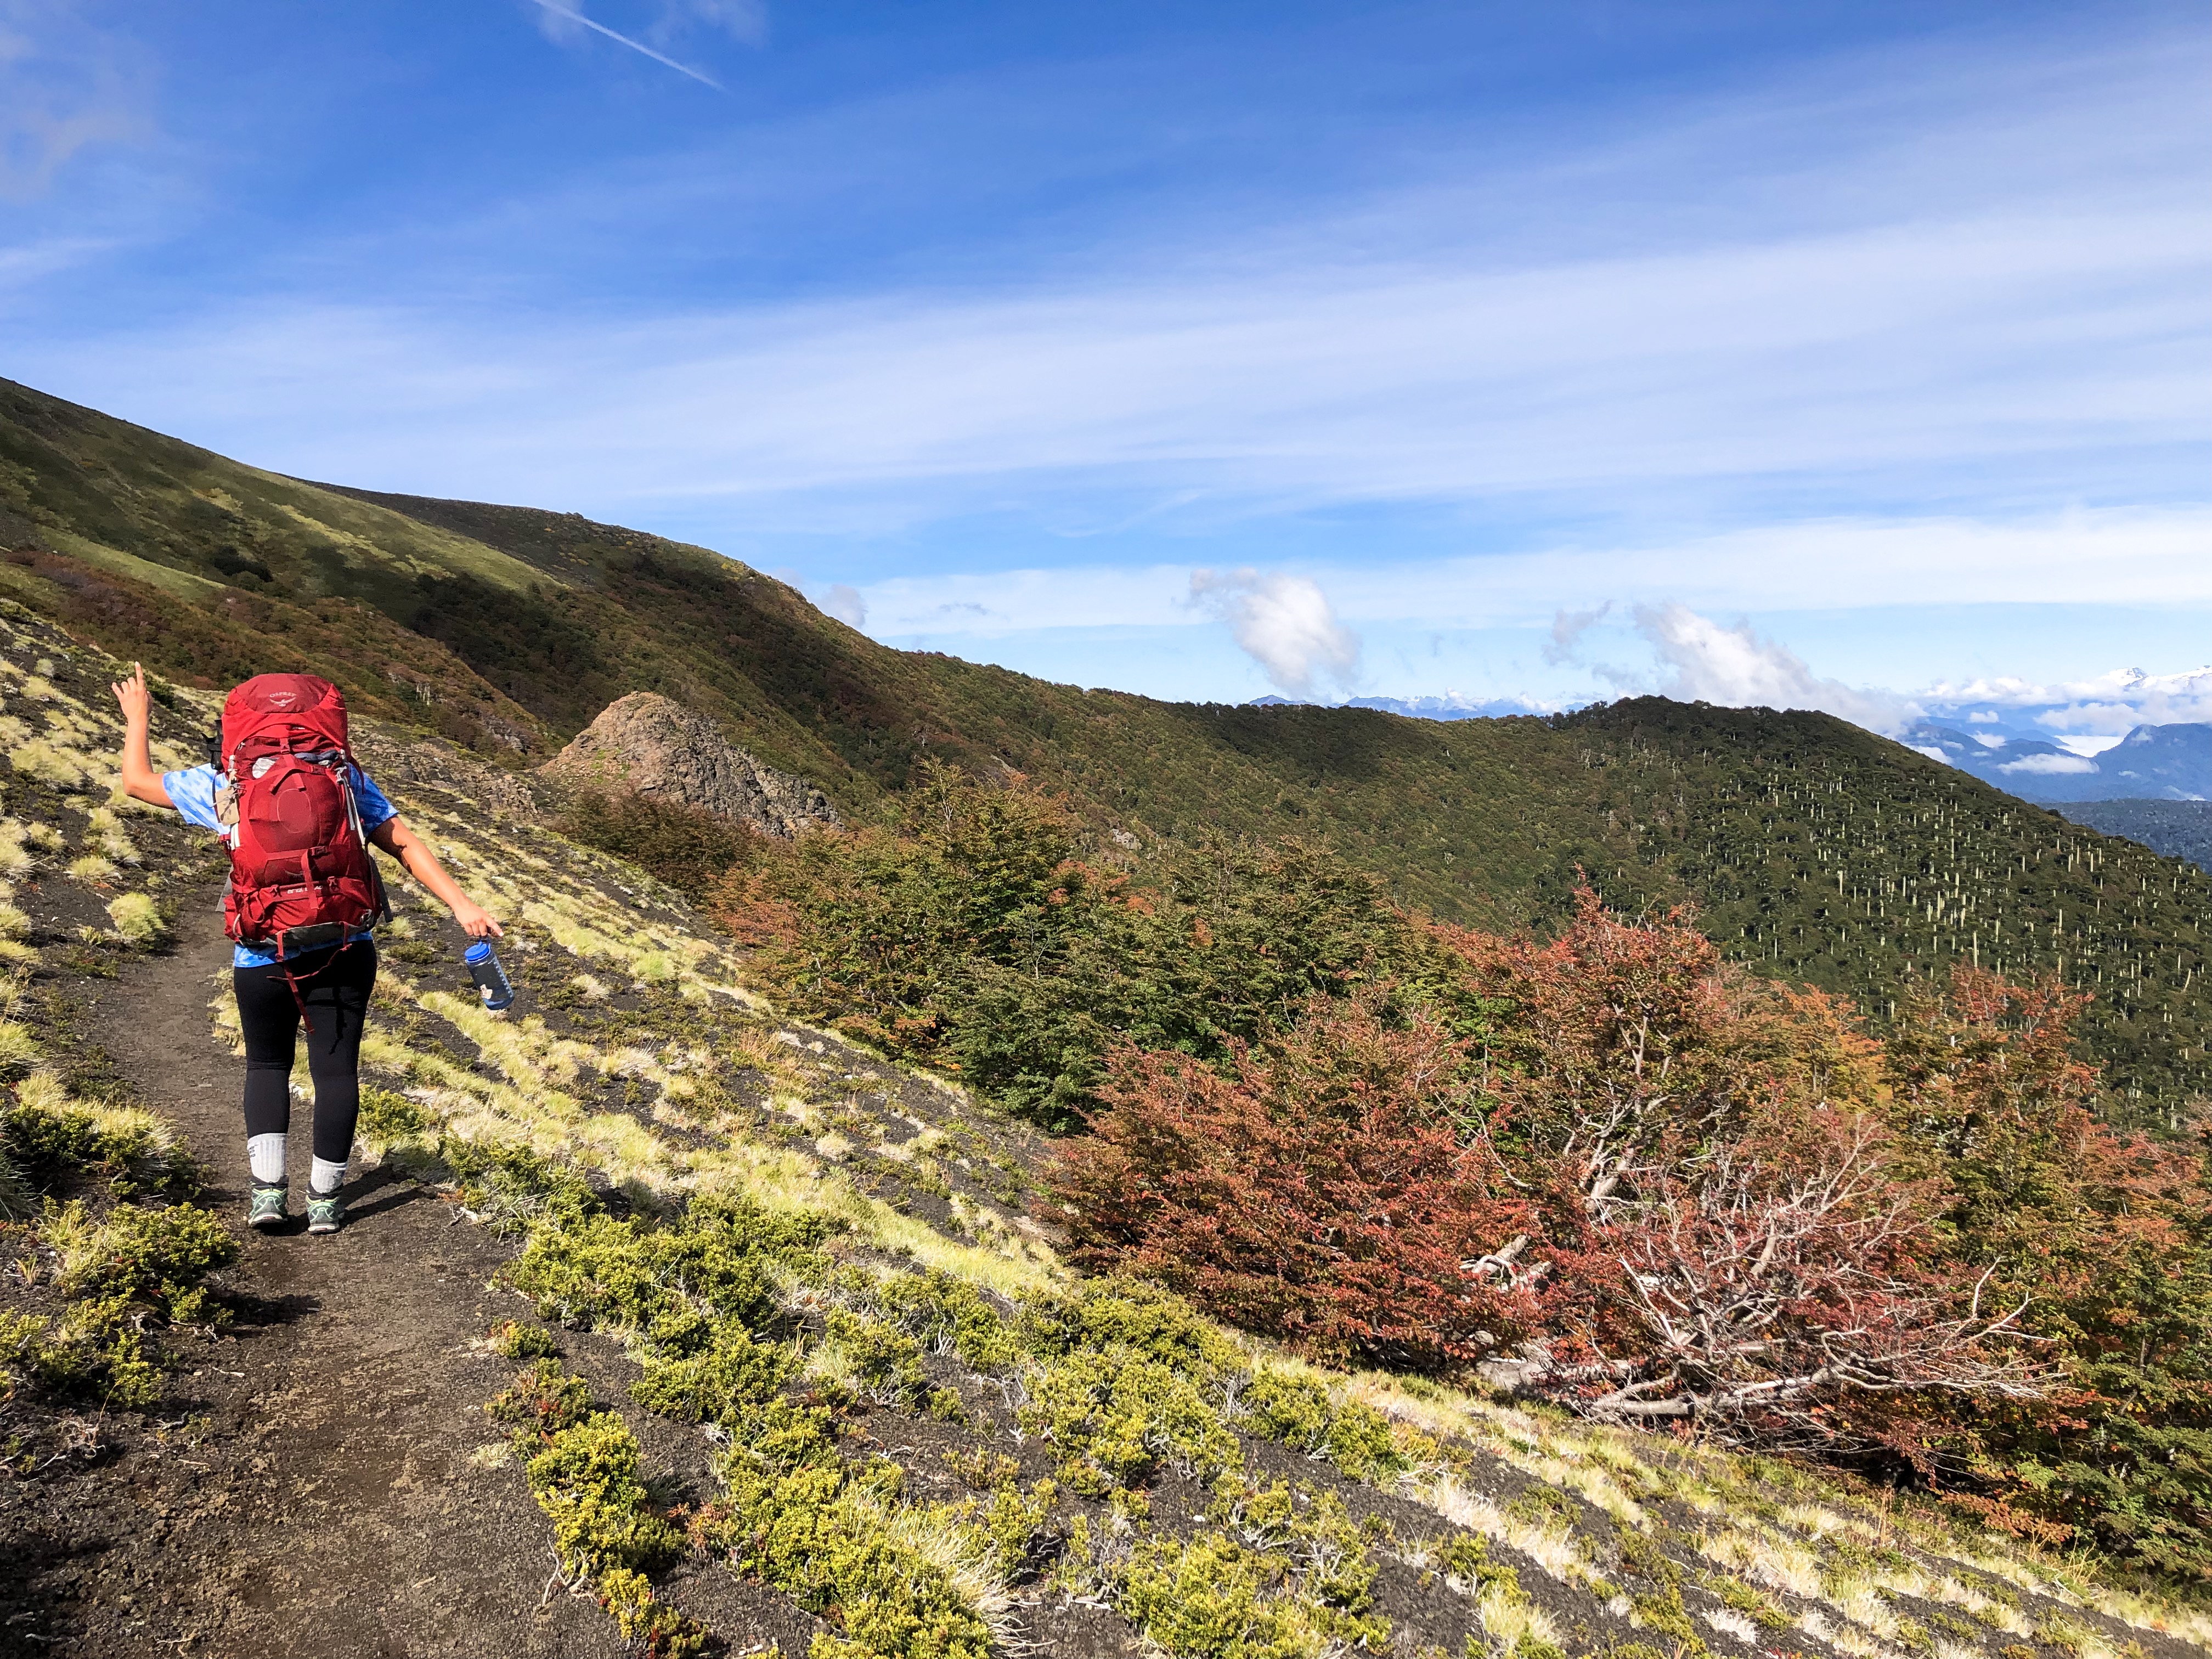
Once we made it above the tree line the trail flattened out for a while and we entered into what I like to call the “moon crater” part of the trek. The trail turned into black volcanic sand and there was a lot of volcanic rock that created an otherworldly vibe. My favorite aspect of the trek was how often the landscape changed. Once we were out of the trees we had perfect views of the Villarrica Volcano and Quetrupillán Volcano. The first main peak you pass is Mirador Los Pinos, and unfortunately the day is far from being over.
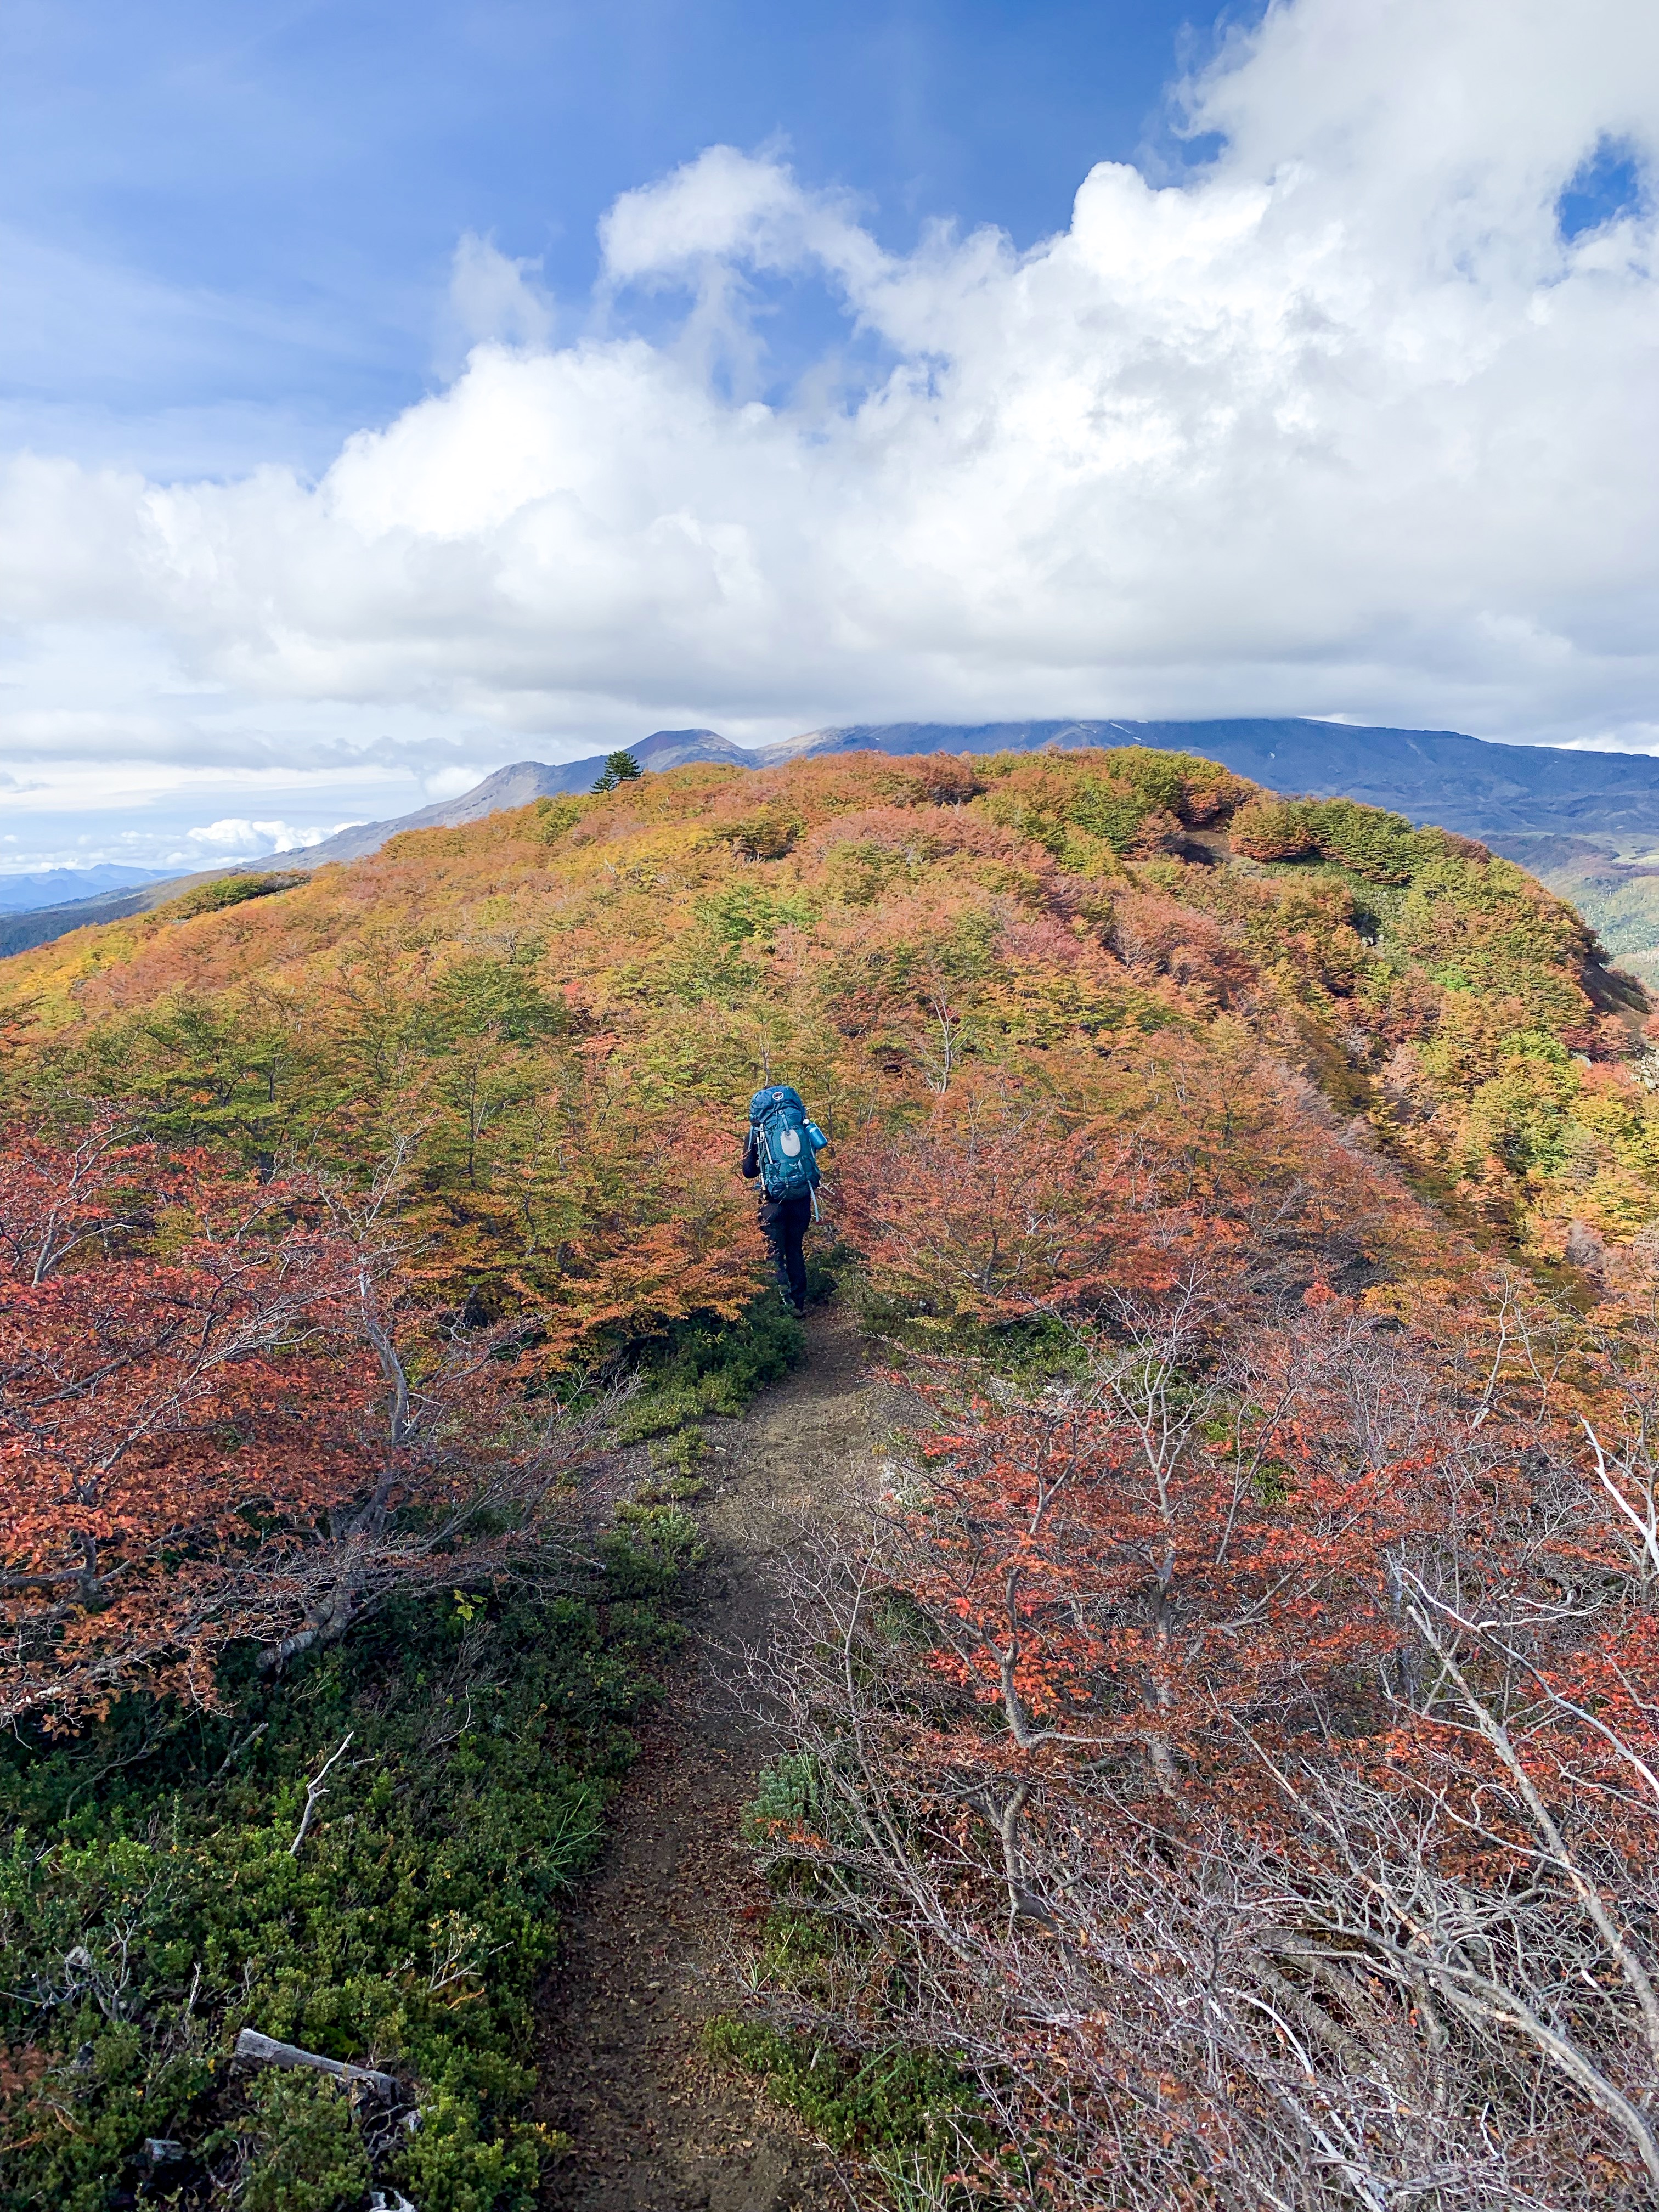
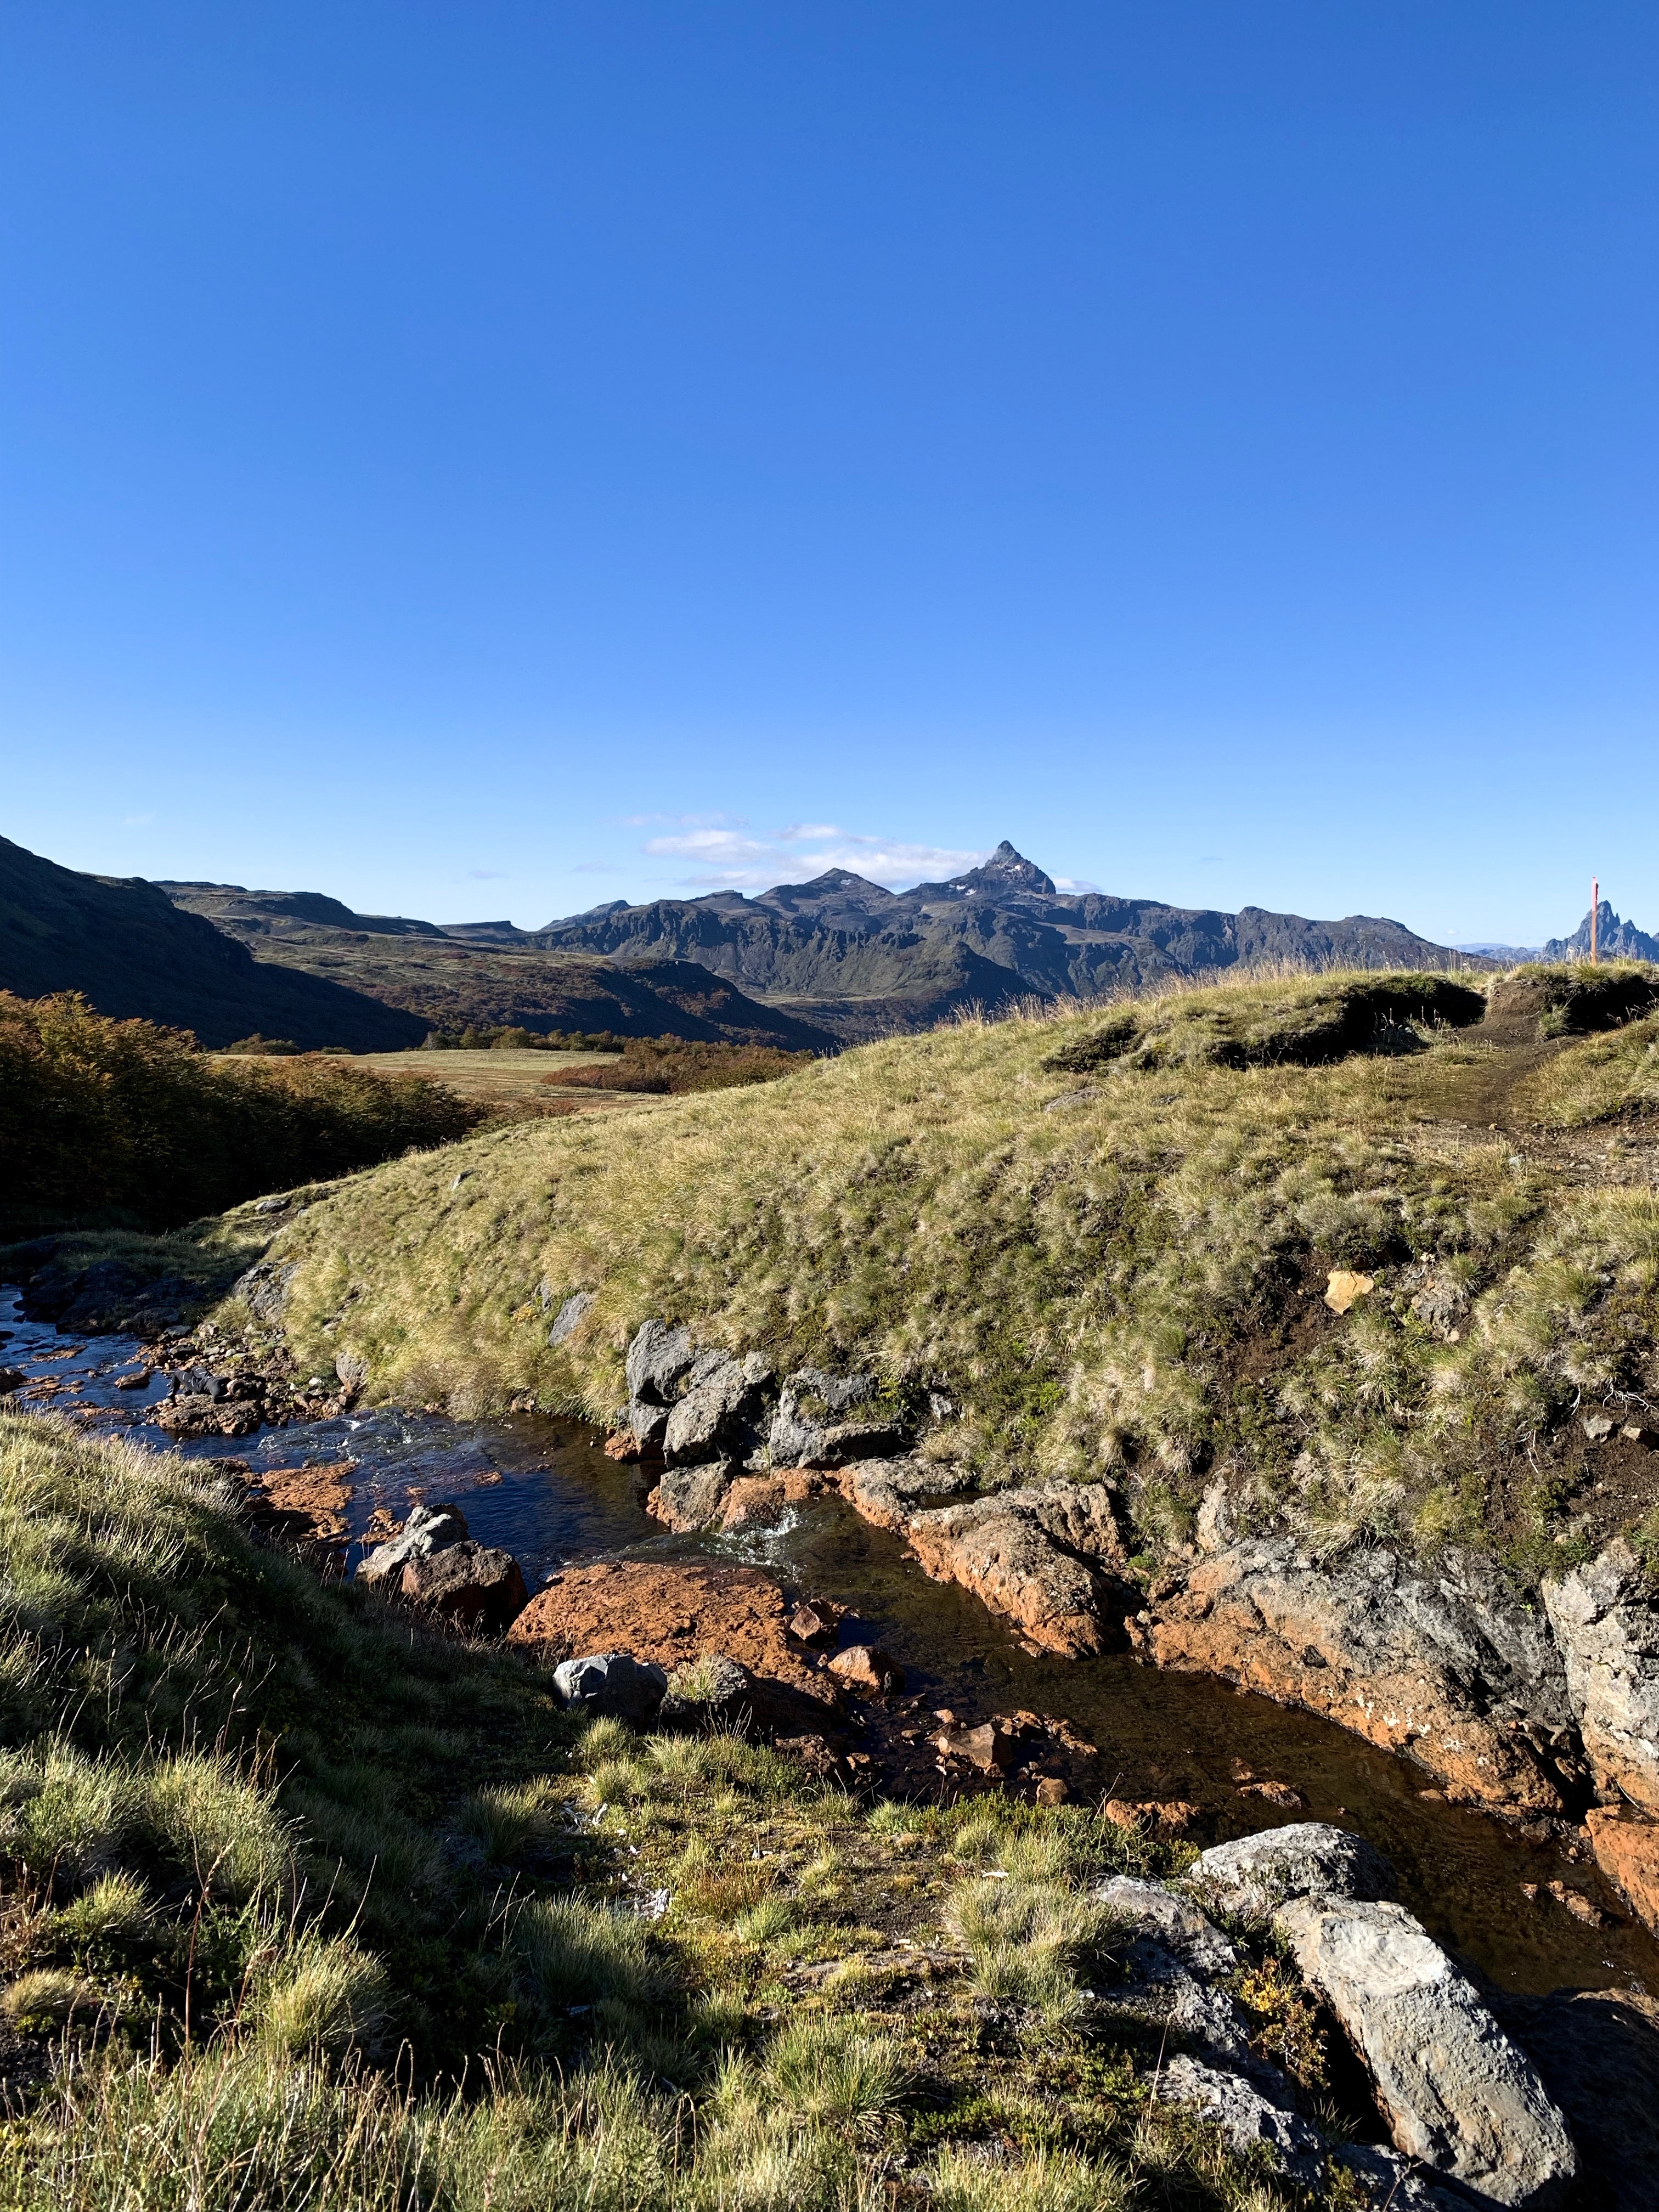
Amazing fall colors on the Villarrica Traverse
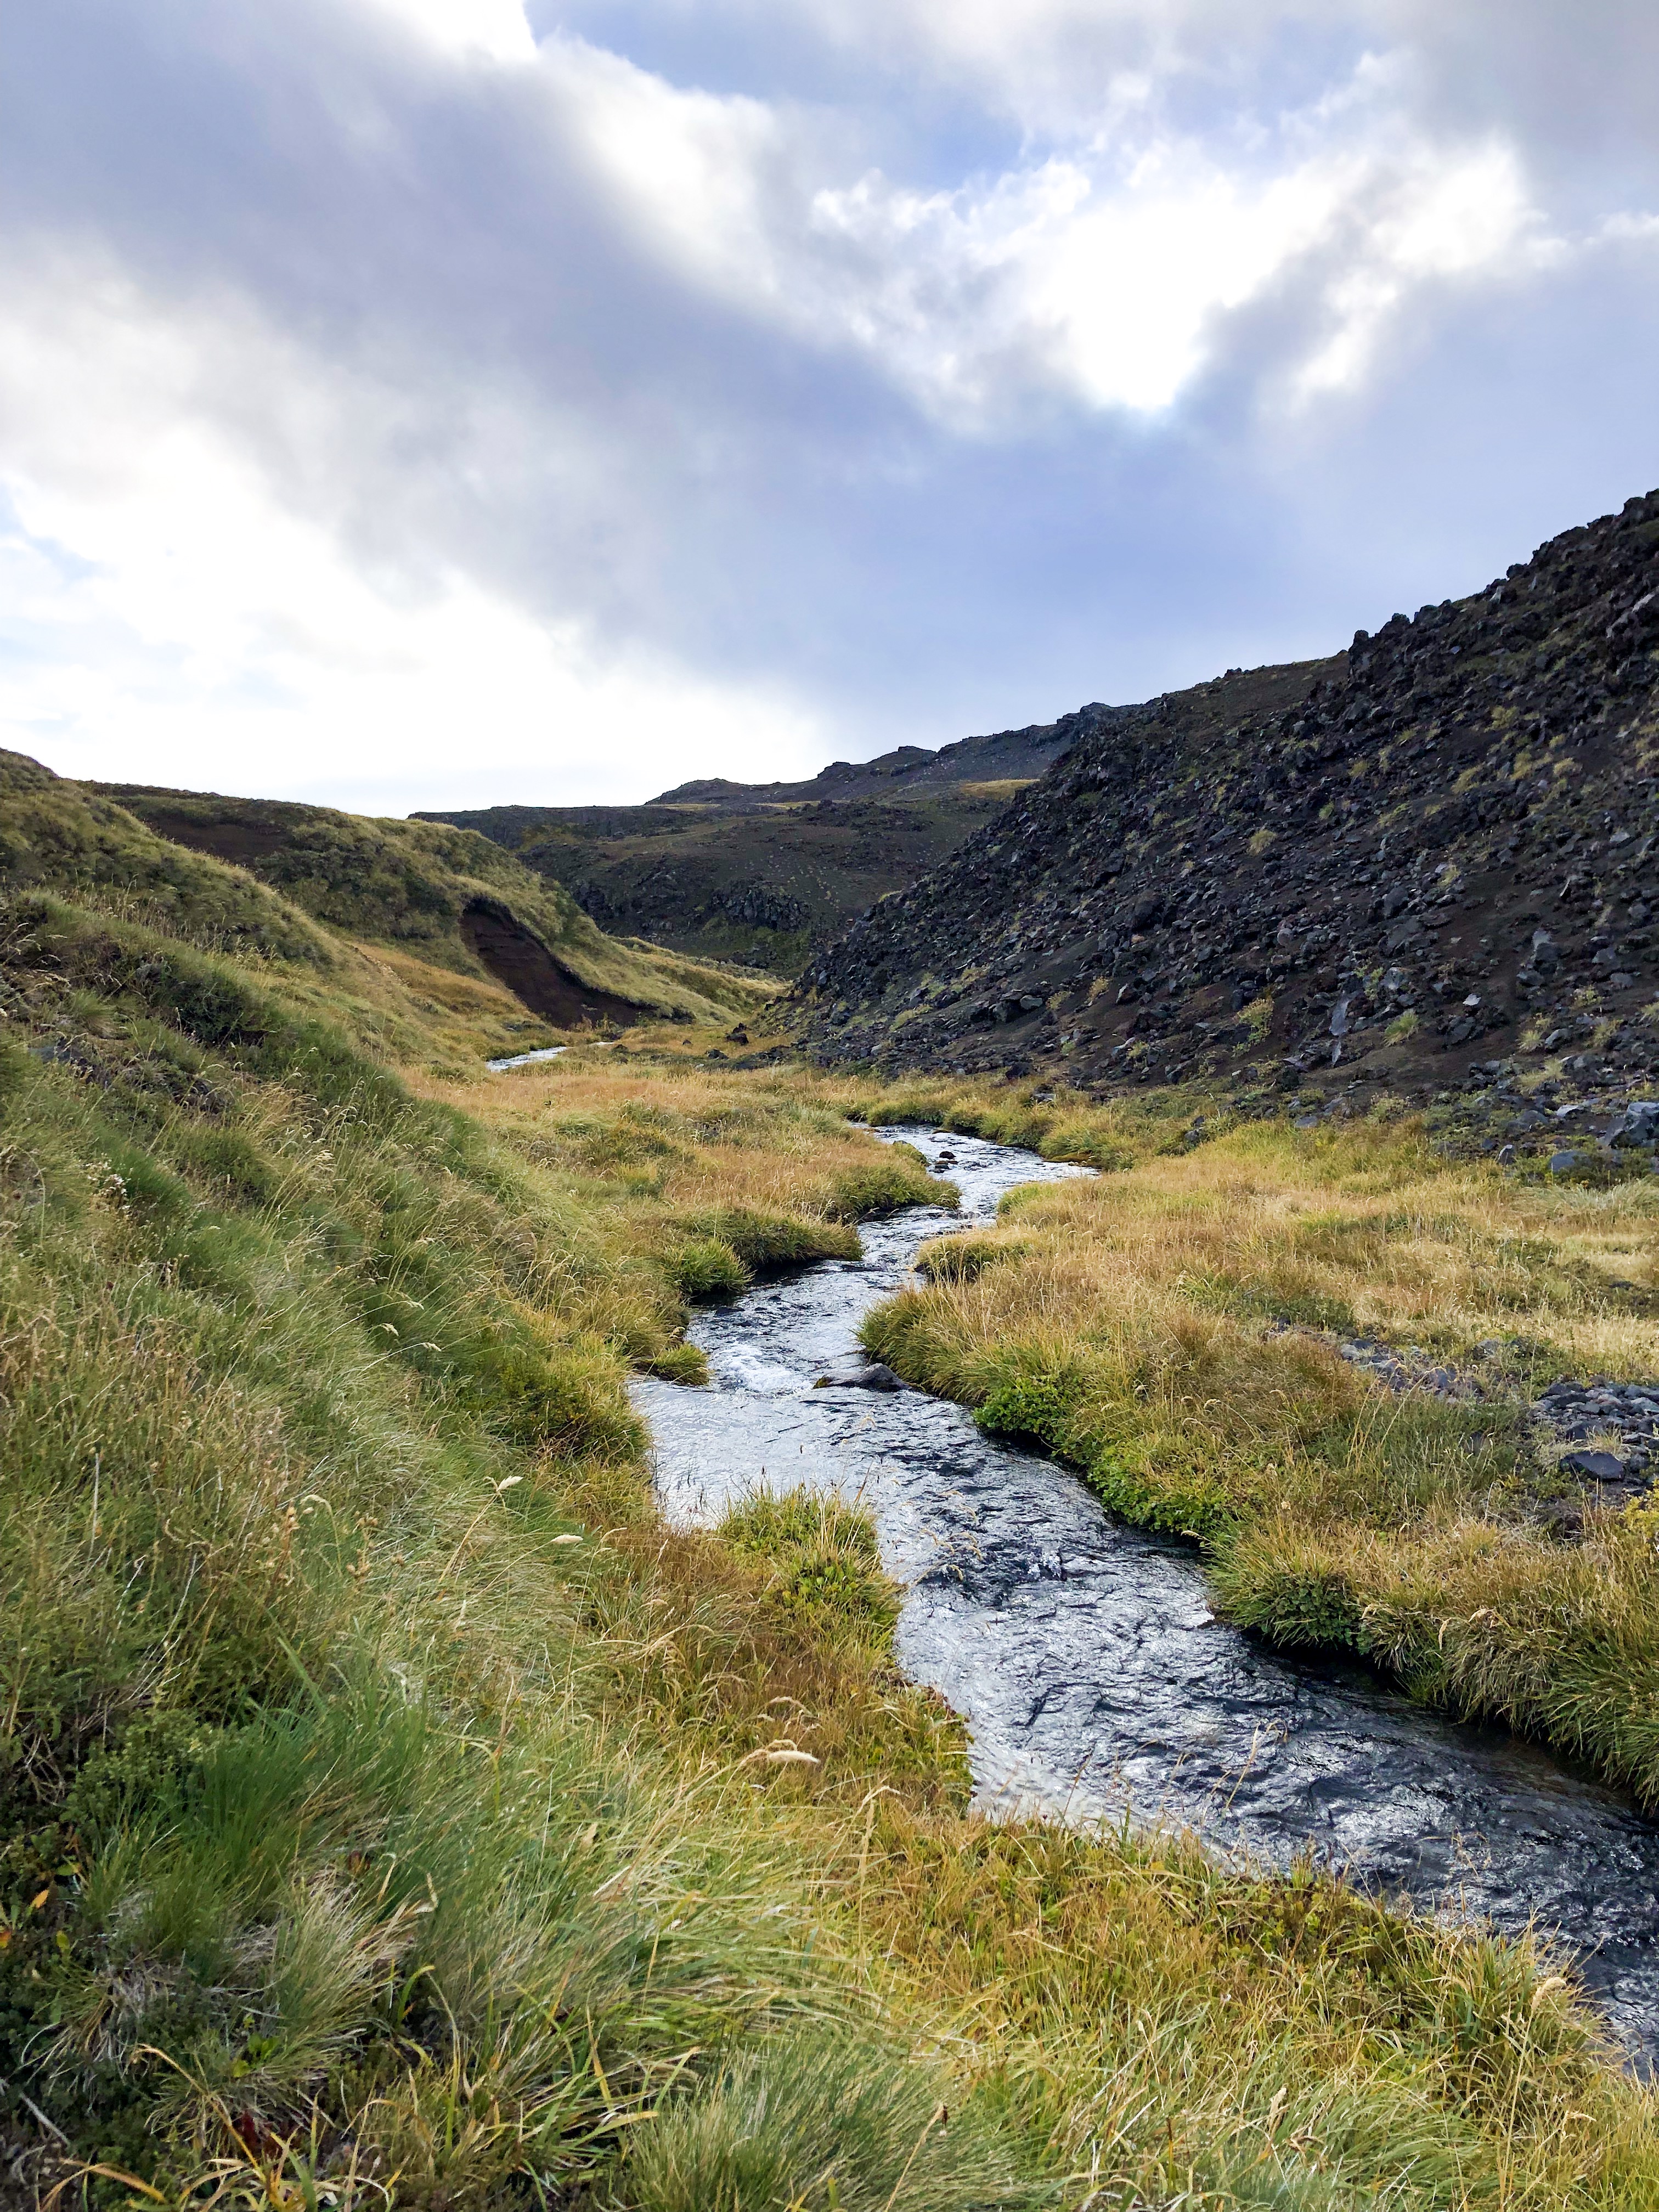
The next stretch was a beautiful walk through red, orange and yellow forest (perks of trekking in the fall). We enjoyed lunch on a nice tree trunk underneath the foliage. The forest spit us out into a beautiful meadow near the base of Quetrupillán Volcano. Thick green grass and a beautiful creek surrounded the trail. As the afternoon started to turn into dusk we still needed to get over the highest pass (if you are exhausted you can camp in the meadow area). We slowly trudged up the hill. The highest pass on the trek is at 1,920 meters.
Mirador Los Pinos
Best Part of the Trek
Although my body was running on empty, the sunset views from the top of the pass were absolutely stunning. I still have this sunset ingrained in my memory. We also got the first glimpse of Volcano Lanín. We had walked for nearly 8 hours, and seen zero other people. I was at a point where I think I would’ve jumped in surprise if we did run into someone. The last bit of the day was an easy downhill trek to sandy shores of Laguna Azul. Good thing we brought head torches because we finished up as the last bits of light were escaping.
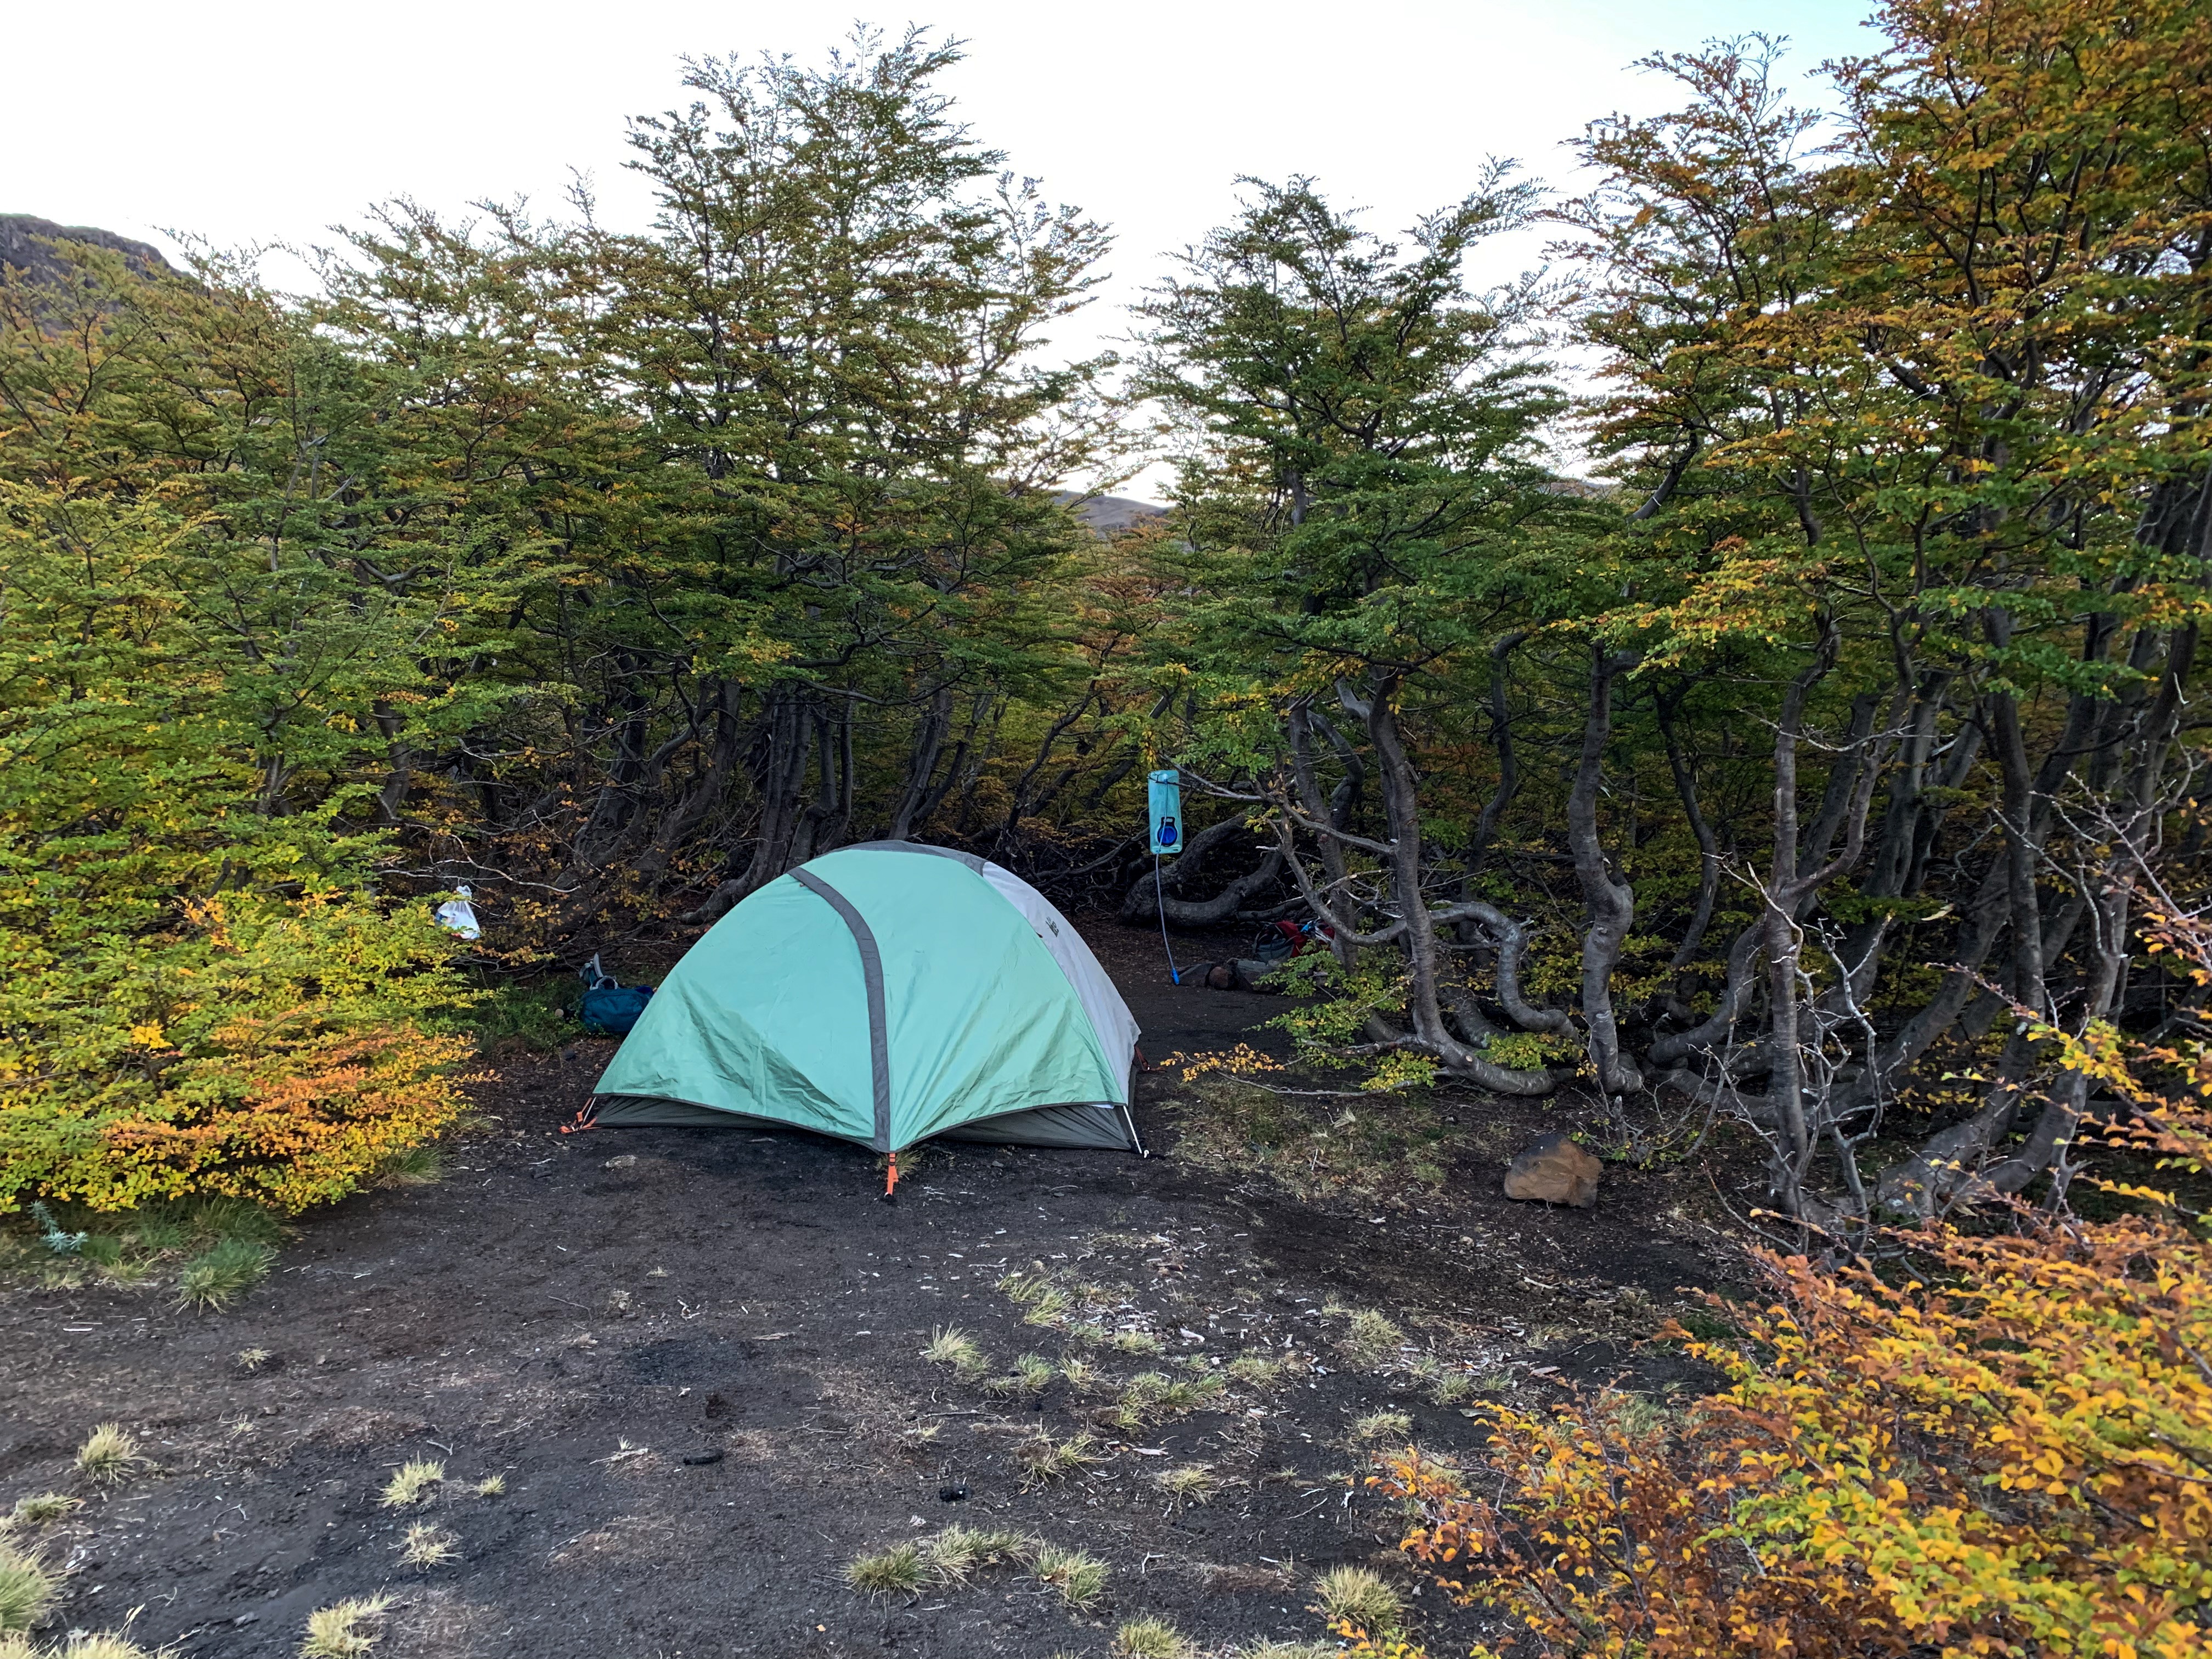
We shared the camping area with another couple but could barely see them and felt like we had the place to ourselves. After a quick hot meal, we were so exhausted we immediately passed out.

Waking up at Laguna Azul
Day 2:
Now that we had the first day out of the way, the rest of the trek felt pretty easy! Day 2 is mostly flat, with a bit of an incline as you cross into Argentina for a moment and then descend onto the campsite.
The day begins with an interesting walk over more “moon like” terrain and deposits you at Laguna Blanca, which is not very white and looks more like chocolate milk! We had some snacks here before we continued on.

Laguna Blanca aka “Chocolate Milk Lake”
 After the lake is a big flat stretch of sandy terrain. We were entertained by a group of Motor bikers flying across the land. As we continued on, we got better volcano views.
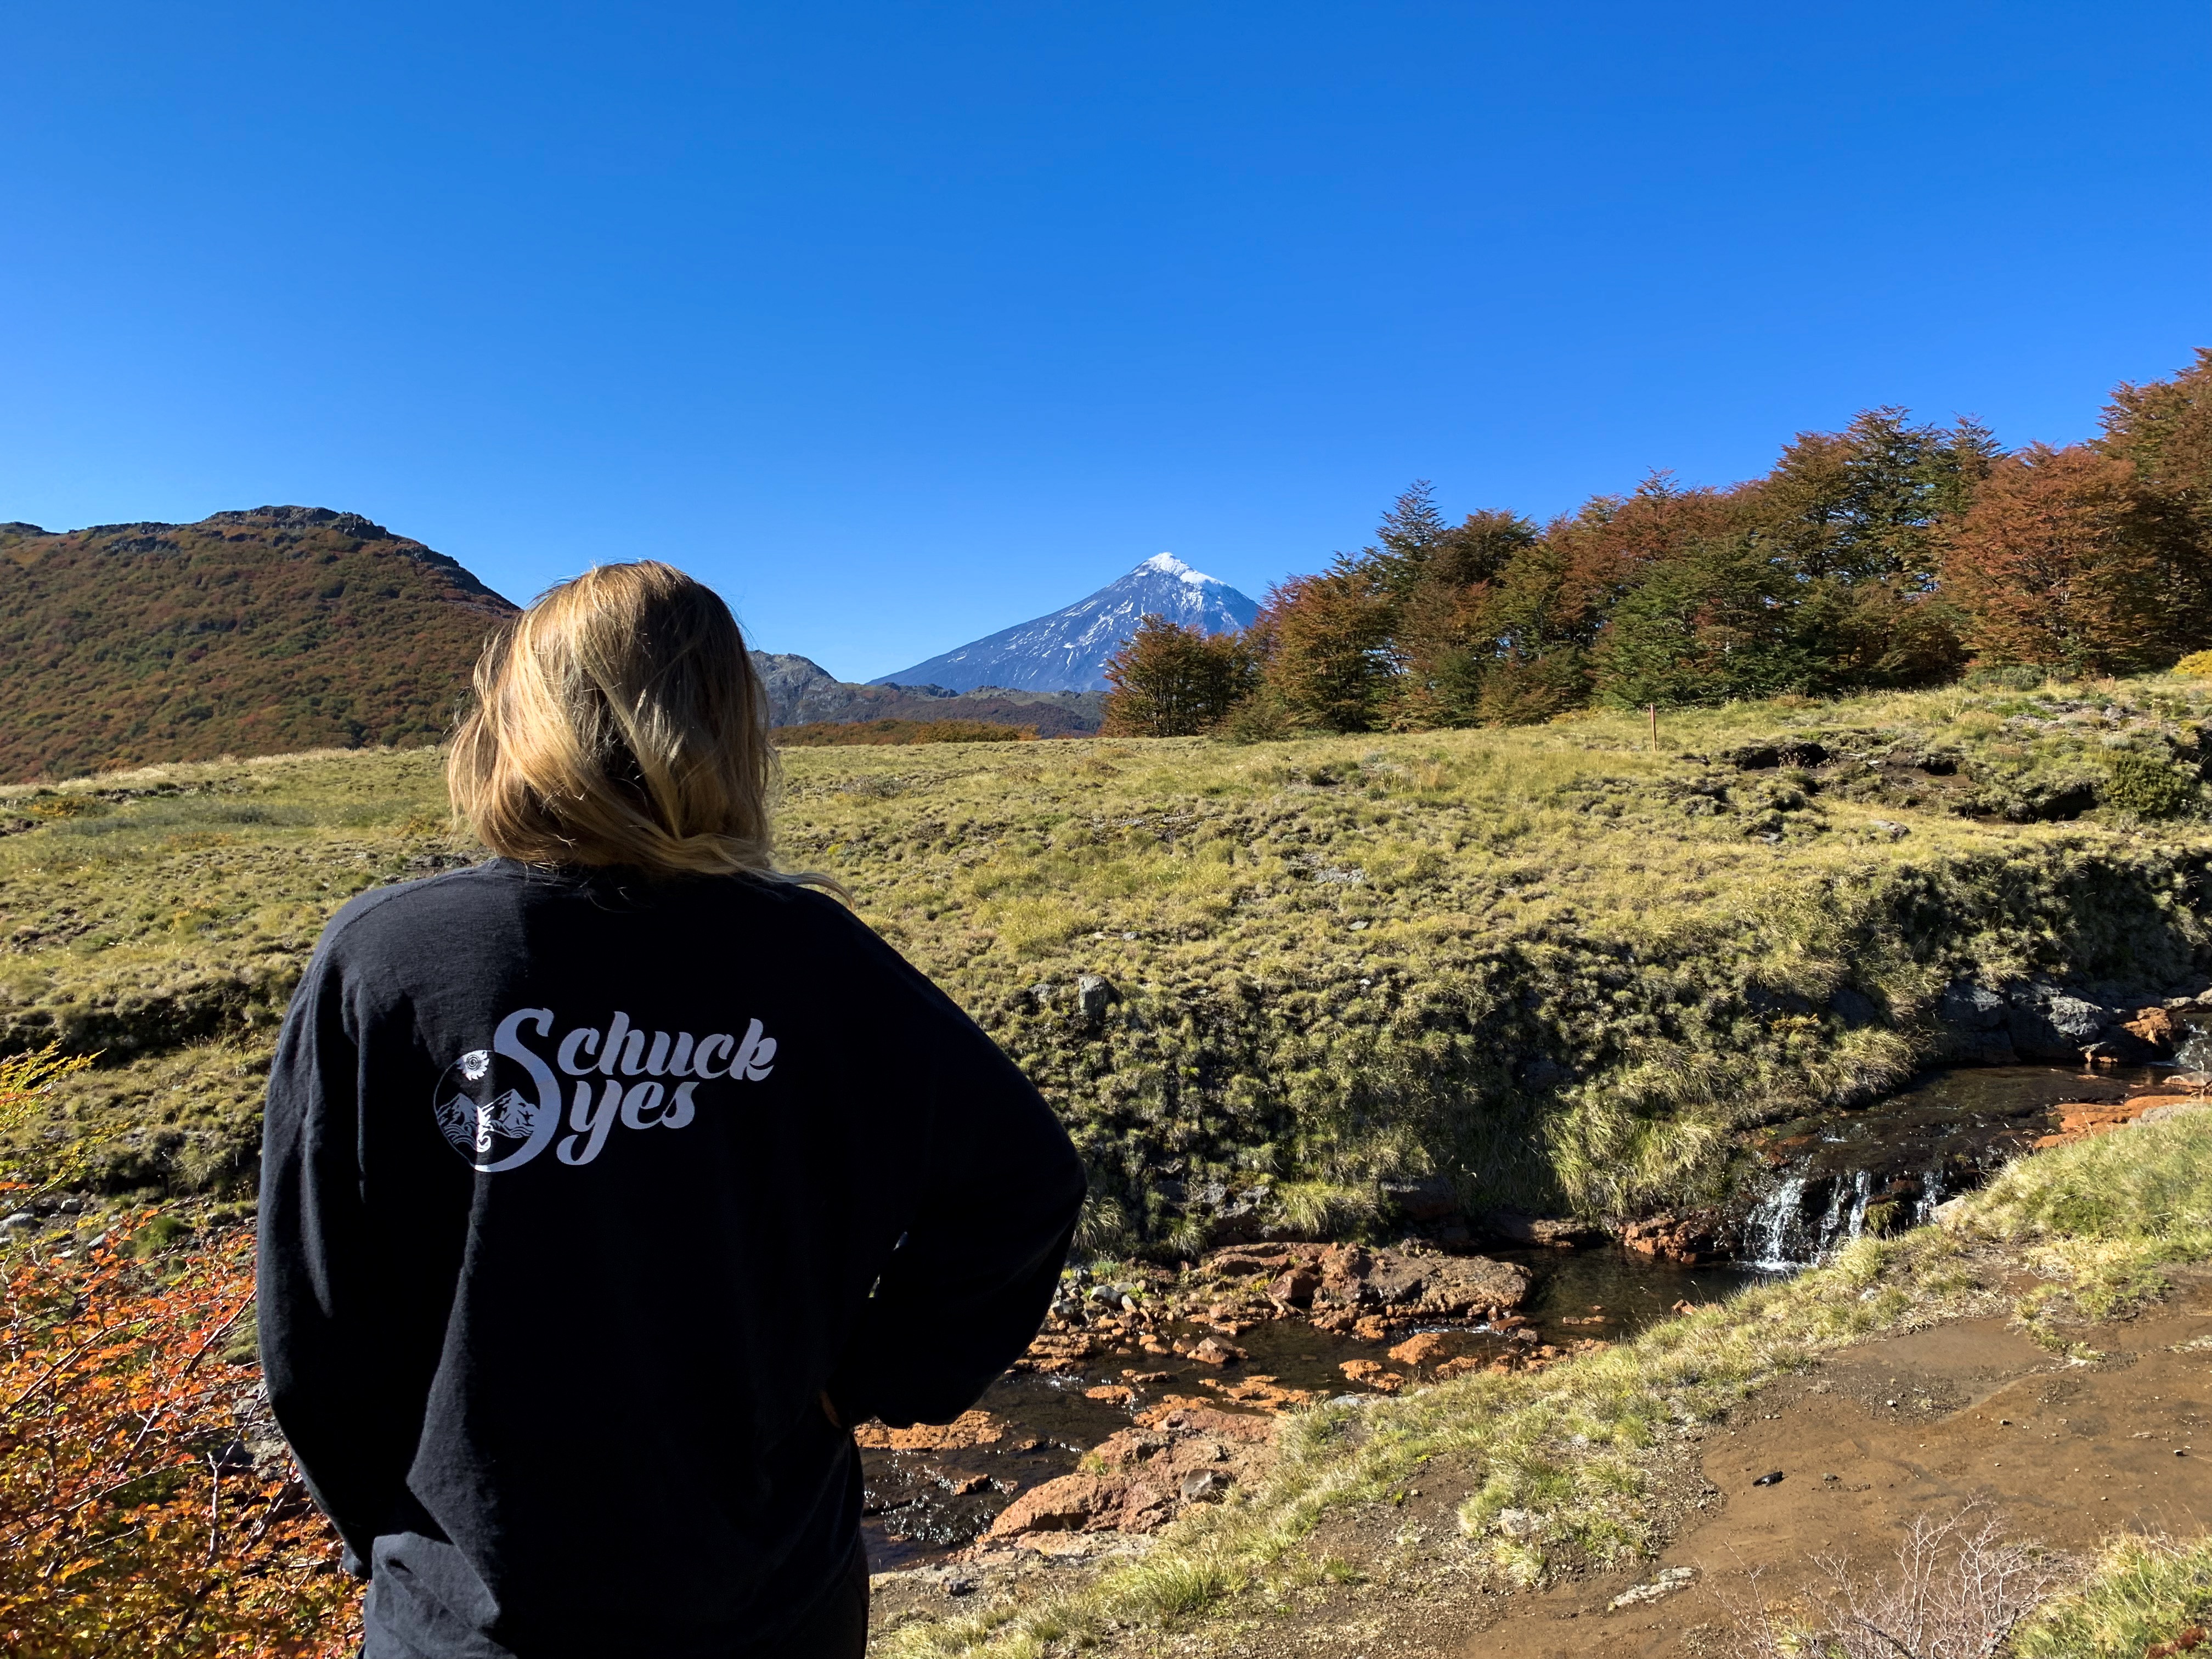
We climbed down the last bit with plenty of daylight to spare. We chose to camp at the volcano view lookout because people told us the views were more impressive than down at Laguna las Avutardas. The scenery here was insane! The sunset lit up Volcano Lanín and the mountains in the distance and our campsite was tucked amongst the trees and a beautiful waterfall creek. I enjoyed reading the rest of the afternoon and soaking my feet in the chilly stream.
The view from our campsite!
Volcano Viewpoint
Day 3:
This was an easy day of all downhill. Poles definitely helped on my knees! We made a stop at Laguna las Avutardas and I jumped in for a refreshing swim! The rest of the trek was downhill switchbacks through dense forest. We had to refer to our map a couple times to make sure we were on the path!
I bring my Schuck Yes shirt on every adventure

Laguna las Avutardas
When we finally reached the bottom a feeling of relief and satisfaction overcame me! I was stoked to complete my first multi day trek and I was also so impressed by the beauty I witnessed. We were really happy to snag a catch a ride back to Pucón and jump in the hot steamy showers at Chili Kiwi Hostel.
Helpful Links for more information:
Travelaid (Info & Hired Transport)


Hi Allie
Thanks for the description and all the information. I’m from Chile and I really apreciate that.
I’m going to do the hike this next week alone.
Regards
Thanks for your message Tomás! I am sure you will love the trek 🙂
Hey there!
I’d love to attempt this hike soon but COVID is certainly making things more complicated!
A couple questions for ya:
– Do you happen to recall where you found trail maps? I’m having a hard time figuring out where the trail goes.
– We’re going by car and want to avoid public transport/shared vehicles. Any suggestions on places we could leave the car and maybe do an out-and-back few days?